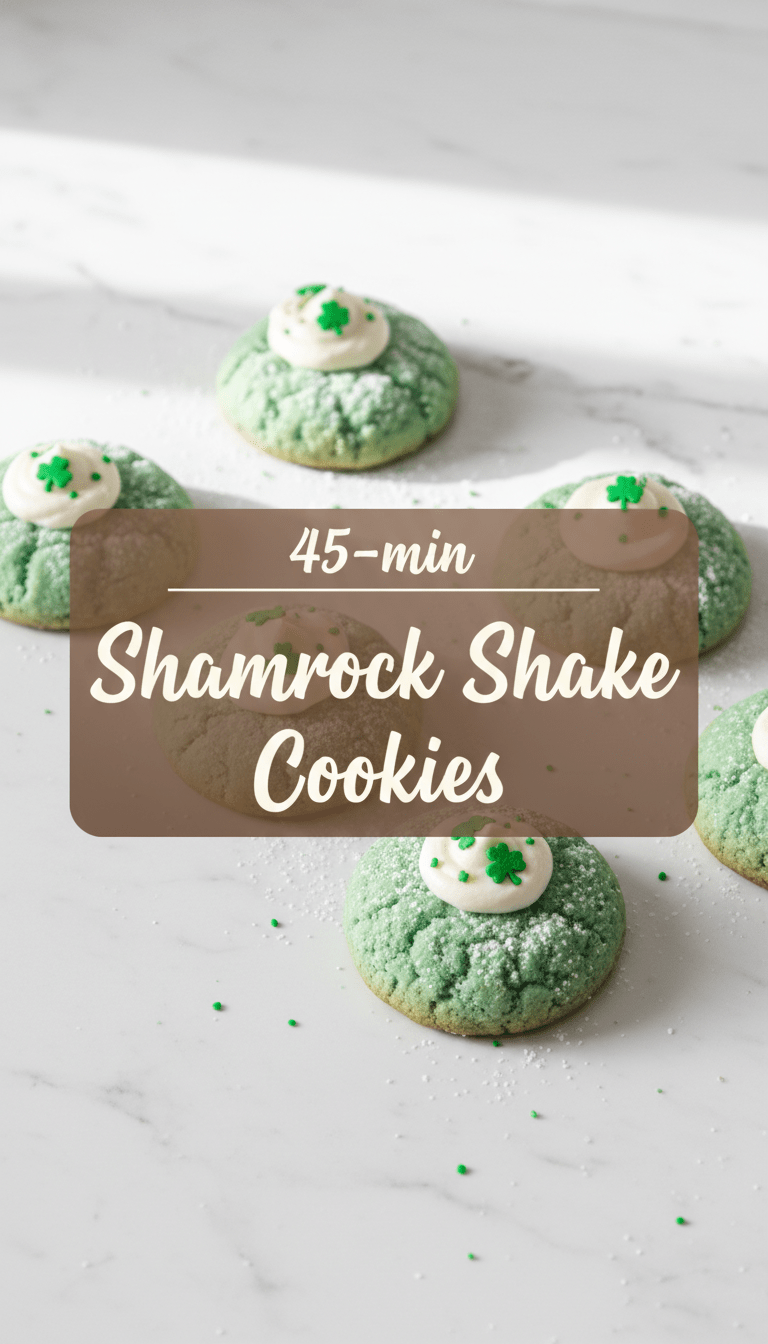
Hello, fellow baking enthusiasts! If you’re anything like me, you wait all year long for that bright green, minty magic known as the Shamrock Shake. Well, guess what? I’ve bottled that deliciousness into the perfect cookie! Today, we’re diving spoon-first into making Shamrock Shake Cookies. These aren’t just ordinary sugar cookies; they are soft, perfectly minty, and topped with the fluffiest, sweetest green frosting you can imagine. Trust me, these will be the star of your St. Paddy’s Day celebrations—or just your Tuesday afternoon snack! Let’s get baking!
Quick Facts About Our Green Goodness
Here’s the lowdown on how quickly you can get these beauties on your cooling rack:
Prep time: 25 minutes (plus chilling time)
Cooking time: 10-12 minutes
Total time: Approximately 1 hour 30 minutes (including chilling)
Serving size: About 2 dozen cookies
Why You’ll Love This Recipe
Why settle for just a milkshake when you can have a cookie that tastes like one?
- Ultimate Nostalgia: It captures the exact flavor profile of the iconic fast-food shake.
- Vibrantly Green: They look festive and fun, perfect for holidays or just cheering up a gloomy day!
- Soft & Chewy: These cookies stay wonderfully soft, contrasting beautifully with the creamy frosting.
- Simple to Master: Even if you’re new to baking, this recipe is straightforward and forgiving.
What You’ll Need: The Ingredients List
We’ll divide this into the cookie dough and the minty frosting.
For the Shamrock Shake Cookies:
- 2 ¼ cups all-purpose flour
- 1 teaspoon baking soda
- ½ teaspoon salt
- 1 cup (2 sticks) unsalted butter, softened
- 1 cup granulated sugar
- 1 large egg
- 1 teaspoon vanilla extract
- ½ teaspoon pure peppermint extract (start here, adjust to taste!)
- 1-2 drops green food coloring (gel works best for vibrant color)
For the Minty Cream Cheese Frosting:
- 8 ounces cream cheese, softened
- ½ cup (1 stick) unsalted butter, softened
- 3-4 cups powdered sugar, sifted
- 1 teaspoon vanilla extract
- ¼ teaspoon pure peppermint extract
- 1-2 drops green food coloring (optional, for extra intensity)
- Optional Topping: Green sprinkles or chocolate shavings
Step-by-Step Instructions: Baking Magic
Follow these simple steps, and you’ll be in minty heaven!
Step 1: Mixing the Dry Ingredients
In a medium bowl, whisk together the flour, baking soda, and salt. Set this aside for later.
Step 2: Creaming the Wet Ingredients
In a large bowl, using a hand mixer or a stand mixer, beat the softened butter and granulated sugar until the mixture is light and fluffy—this usually takes about 3 minutes. Beat in the egg, vanilla extract, and peppermint extract.
Step 3: Getting That Green Hue
Now for the fun part! Add 1 to 2 drops of green food coloring to the dough mixture and mix until the color is uniform. Remember, a little goes a long way!
Step 4: Bringing It Together
Gradually add the dry ingredient mixture to the wet ingredients, mixing on low speed until just combined. Be careful not to overmix!
Step 5: Chill Time is Crucial
Wrap the dough tightly in plastic wrap and flatten it into a disc. Chill it in the refrigerator for at least 30 minutes. This prevents the cookies from spreading too much while baking.
Step 6: Scoop and Bake
Preheat your oven to 375°F (190°C). Line baking sheets with parchment paper. Scoop the dough into rounded tablespoons (or use a small cookie scoop) and place them about 2 inches apart on the prepared sheets.
Step 7: Bake!
Bake for 10 to 12 minutes, or until the edges are set but the centers still look slightly soft. Let them cool on the baking sheet for 5 minutes before transferring them to a wire rack to cool completely.
Step 8: Whip Up the Frosting
While the cookies cool, make the frosting. In a clean bowl, beat the softened cream cheese and butter until smooth. Gradually beat in the sifted powdered sugar, alternating with the vanilla and peppermint extracts. If you want a brighter green, add a final drop of food coloring now. Beat until light and fluffy.
Step 9: Frost and Finish
Once the cookies are completely cool (very important, or the frosting will melt!), generously spread or pipe the frosting onto the top of each cookie. Sprinkle immediately with your favorite green sprinkles or a dusting of chocolate shavings.
Serving Suggestions
These cookies are fantastic served slightly chilled, straight from the fridge, which makes the frosting firm up nicely! They pair wonderfully with a hot cup of coffee (for balance) or, better yet, alongside a small glass of cold milk. They also look incredible stacked on a platter for parties!
Tips for Customization & Variations
Want to switch things up? Here are a few ways to play with this recipe:
- Chocolate Chip Twist: Add ½ cup of mini white chocolate chips to the cookie dough before chilling.
- Dipped Delight: Instead of frosting, dip the cooled cookies halfway into melted white chocolate mixed with green food coloring.
- Extra Minty: If you love a strong mint flavor, increase the peppermint extract in the dough to ¾ teaspoon.
- Brownie Base: For a richer cookie, replace ¼ cup of the flour with high-quality cocoa powder for a Mint Chocolate Chip Cookie variation.
Nutritional Information (Estimated Per Cookie)
Please note this is a rough estimate and depends heavily on the amount of frosting used!
Calories: Approximately 200-240
Fat: 10-12g
Carbohydrates: 25-30g
Protein: 3g
Frequently Asked Questions (FAQs)
Q1: Can I freeze these cookies?
A: Yes, you absolutely can! Cookie dough freezes beautifully; scoop the dough balls onto a tray, freeze until solid, then transfer them to a freezer bag. You can bake them directly from frozen, adding 2-3 minutes to the baking time. For baked cookies, freeze them unfrosted, and frost them once thawed.
Q2: Why is my frosting too runny?
A: This usually happens if your butter or cream cheese wasn’t fully softened or if you added too much liquid (like too much extract). To fix it, add powdered sugar one tablespoon at a time until you reach the right consistency. Alternatively, chill the frosting in the fridge for 15 minutes to let it firm up.
Q3: Do I really need the peppermint extract and vanilla?
A: The vanilla helps round out the flavor, but the peppermint is key to that distinct “Shamrock Shake” taste. If you omit the vanilla, the mint flavor might taste a bit too sharp or artificial.
Happy Baking, everyone! Let me know in the comments when you try these vibrant, minty delights!