Hey food lovers! Welcome back to my kitchen. Today, we are tackling a dessert that screams comfort, nostalgia, and pure chocolatey bliss: Gluten Free Chocolate Pudding.
Forget those chalky, box mixes. We are making a homemade version so rich, so smooth, and so perfectly chocolate that you’ll wonder why you ever settled for anything less. And the best part? It’s completely gluten-free, so everyone at the table can dig in without a worry!
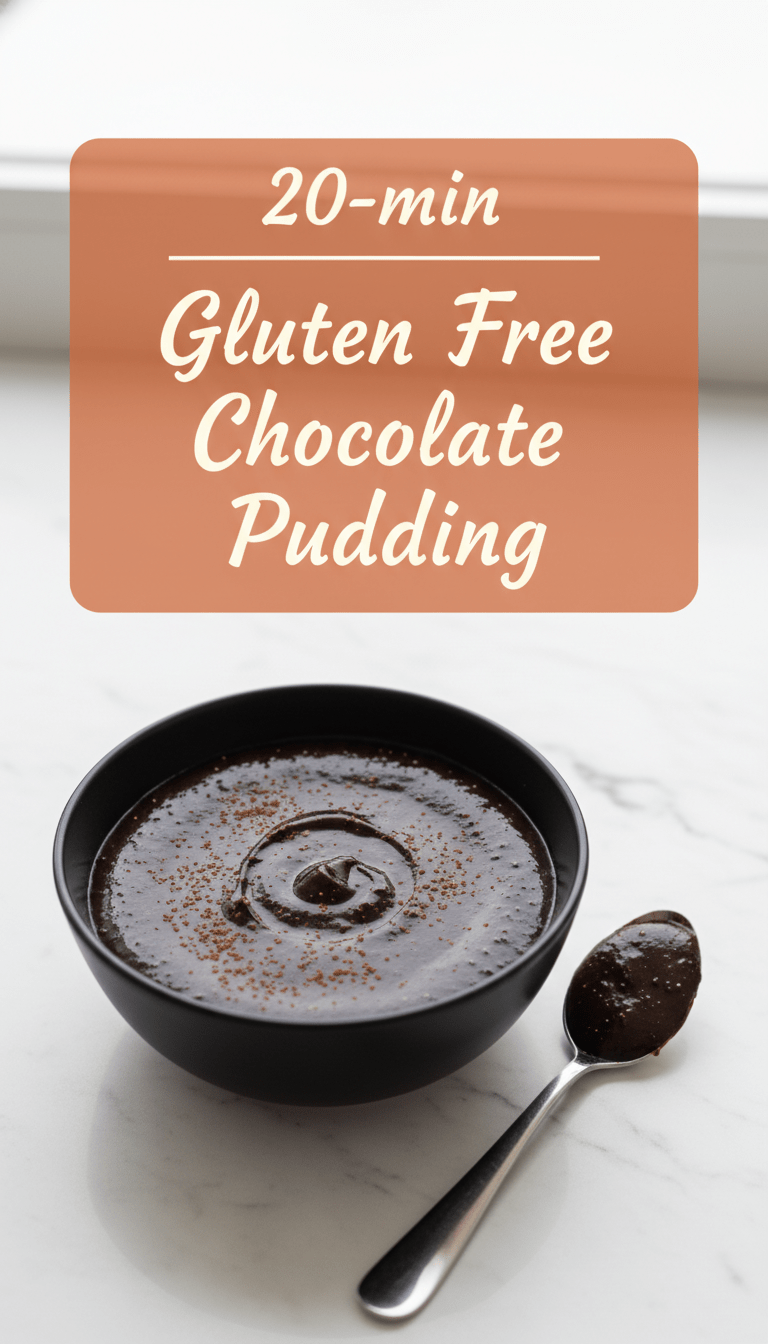
Quick Facts About This Heavenly Pudding
Here’s what you need to know before diving in:
Prep time: 10 minutes
Cooking time: 15 minutes
Total time: 25 minutes (plus chilling time)
Serving size: 4 generous portions
Why You’ll Love This Recipe
This isn’t just any pudding; it’s the best pudding.
- Incredibly Smooth: We use a secret ingredient (a little cornstarch) to guarantee a velvety texture every single time—no lumps allowed!
- Naturally Gluten-Free: Made with simple pantry staples, this recipe is inherently safe for our gluten-sensitive friends.
- Deep Chocolate Flavor: It’s intensely chocolatey without being overly sweet. It hits that perfect dessert note.
- Quick Fix: From stove to fridge in under an hour (though patience for chilling is a virtue!).
What You’ll Need: The Ingredients List
Gather these simple items. Remember, quality chocolate makes all the difference here!
- 2 cups Whole Milk (or unsweetened almond/oat milk for dairy-free)
- 1/2 cup Granulated Sugar
- 1/4 cup Unsweetened Cocoa Powder (Dutch-processed works beautifully)
- 3 Tablespoons Cornstarch (our gluten-free thickening powerhouse!)
- Pinch of Salt
- 1 teaspoon Vanilla Extract
- 2 ounces Semisweet or Dark Chocolate, finely chopped (check for gluten-free certification if necessary)
- 1 Tablespoon Unsalted Butter (optional, for extra richness)
Step-by-Step Instructions: Creating Pudding Perfection
This process is straightforward, but pay attention to the whisking—it’s key to that smooth texture!
Step 1: Whisk the Dry Stuff
In a medium-sized saucepan (not yet on the heat!), whisk together the sugar, cocoa powder, cornstarch, and salt. Whisk them really well until there are no lumps of cocoa or cornstarch remaining. This dry mixing prevents clumps later!
Step 2: Introduce the Milk
Slowly pour in the milk while continuously whisking the dry ingredients. Keep whisking until the mixture is completely smooth and looks like liquid chocolate.
Step 3: Cooking Time Magic
Place the saucepan over medium heat. Continue to whisk constantly! This is important—if you stop whisking, the bottom will scorch. After about 5 to 8 minutes, the mixture will start to bubble gently and thicken up significantly. Once it thickens enough to coat the back of a spoon heavily, let it bubble gently for one full minute while stirring, ensuring the cornstarch is fully cooked out.
Step 4: Finishing Touches
Remove the saucepan from the heat immediately. Stir in the chopped chocolate and the butter (if using). Stir until both are completely melted and incorporated, giving the pudding that incredible sheen. Finally, stir in the vanilla extract.
Step 5: Chill Out
Pour the pudding immediately into individual ramekins, small bowls, or one large serving dish. To prevent a “skin” from forming on top, lightly press a piece of plastic wrap directly onto the surface of the pudding in each container.
Refrigerate for at least 3 to 4 hours, or until completely chilled and set.
Serving Suggestions: Taking It Up a Notch
The beauty of homemade pudding is the topping game!
1. Classic Whipped Cream: A dollop of freshly whipped, lightly sweetened cream is non-negotiable for me.
2. Berry Brightness: Fresh raspberries or sliced strawberries cut through the richness perfectly.
3. Crunch Factor: Sprinkle some crushed gluten-free shortbread cookies or toasted pecans on top.
4. Minty Fresh: A tiny sprig of fresh mint looks elegant and adds a lovely aroma.
Tips for Customization and Variations
Want to mix things up? Here are a few ways to make this recipe uniquely yours:
- Dairy-Free: Use full-fat canned coconut milk or a rich oat milk instead of dairy milk.
- Mocha Madness: Add 1 teaspoon of instant espresso powder along with the dry ingredients for a coffee kick.
- Boozy Treat: Once the pudding is off the heat, stir in a tablespoon of good quality rum or bourbon for an adult dessert.
- Spice It Up: Add a tiny pinch of cinnamon or cayenne pepper with the cocoa powder for warmth.
Estimated Nutritional Information
Please note: This is a rough estimate based on using whole milk and standard semisweet chocolate, and will vary based on exact ingredients used.
Per Serving (1/4 of recipe): Approximately 300-350 Calories, 10g Fat, 50g Carbohydrates, 6g Protein.
Frequently Asked Questions (FAQs)
Q1: Can I make this pudding ahead of time?
Yes! This pudding is actually better the next day after it has fully set in the fridge. It stores well, covered, for up to 4 days.
Q2: Why did my pudding turn out lumpy?
Lumps usually happen when you add the cold milk to the cocoa/cornstarch mixture too quickly, or if you don’t whisk enough before applying heat. Always whisk the dry ingredients thoroughly first, and whisk continuously while cooking!
Q3: Is cornstarch the only thickener I can use?
For a gluten-free recipe, cornstarch is the most reliable and neutral thickener. You could technically substitute arrowroot powder, but you might need slightly less, and the final texture can sometimes be slightly glossier. Stick to cornstarch for the best results here!
Q4: How do I make this recipe vegan?
To make this completely vegan, ensure you use plant-based milk (like oat or soy) and substitute the butter with a vegan butter alternative or simply omit it. Make sure your chopped chocolate is dairy-free!
Enjoy every smooth, satisfying spoonful of this truly magnificent Gluten Free Chocolate Pudding. Happy baking (or rather, pudding-making)! Let me know in the comments how yours turned out!