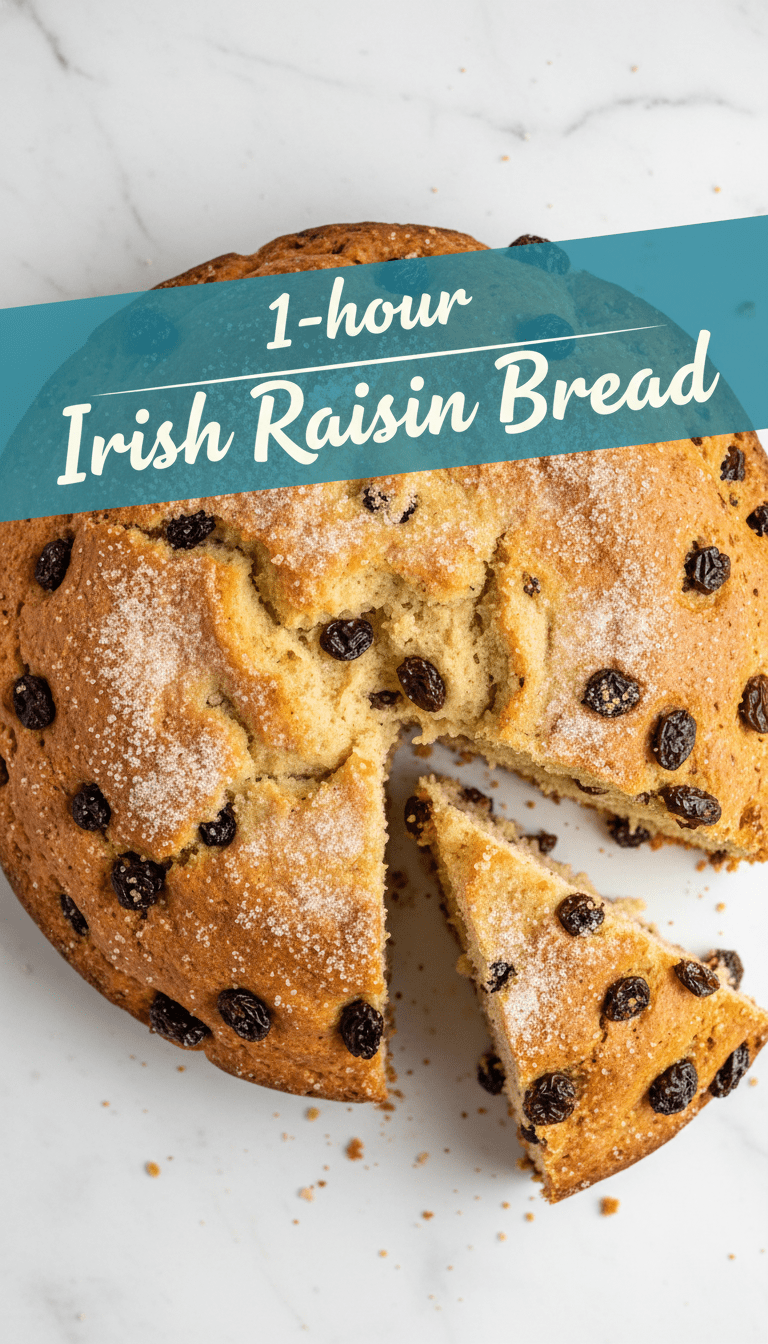
Hello, lovely bakers! If you’re anything like me, there are certain smells that just transport you straight back to childhood comfort. For me, that smell is warm, slightly spiced bread studded with sweet raisins. Today, we are diving into a truly classic treat: Irish Raisin Bread.
This isn’t just any bread; it’s tender, slightly sweet, and perfect toasted with a smear of good Irish butter. It’s simple enough for a beginner but delicious enough for a seasoned pro. Forget those complicated sourdoughs for a minute, and let’s bake something truly heartwarming. Grab your apron—it’s time to make magic happen!
Quick Facts About This Delight
Here are the essential details you need before you start your baking adventure:
Prep time: 20 minutes
Resting time: 1 hour (rising)
Cooking time: 40-45 minutes
Total time: Approximately 2 hours 5 minutes (mostly waiting!)
Serving size: 1 loaf (about 10-12 slices)
Why You’ll Love This Recipe
This Irish Raisin Bread is genuinely special. Here’s why it deserves a spot in your regular baking rotation:
- It uses simple, pantry-staple ingredients. No fancy flours needed!
- The texture is sublime—soft, slightly dense, and wonderfully moist thanks to the buttermilk.
- It tastes incredible served warm straight from the oven, but it keeps beautifully for days.
- It carries just the right hint of spice; it’s comforting without being overwhelmingly sweet.
What You’ll Need: Ingredients List
Gather your goodies! Make sure your butter and eggs are at room temperature for the best texture.
For the Bread:
- 3 cups All-Purpose Flour (plus a little extra for dusting)
- 1 teaspoon Baking Soda
- 1 teaspoon Ground Cinnamon
- 1/2 teaspoon Ground Nutmeg (optional, but highly recommended!)
- 1/2 teaspoon Salt
- 1/2 cup Granulated Sugar
- 1 large Egg, lightly beaten
- 1 cup Buttermilk (shaken well)
- 1/4 cup Unsalted Butter, melted and slightly cooled
- 1 teaspoon Vanilla Extract
- 1 1/2 cups Raisins (I prefer golden raisins for color, but dark work great too!)
For the Optional Glaze (Trust me, do this!):
- 1/2 cup Powdered Sugar (Icing Sugar)
- 2-3 tablespoons Milk or Lemon Juice
Baking Step-by-Step: Creating Your Loaf
Follow these easy steps, and you’ll have a stunning loaf ready for tea time!
Step 1: Prep Your Station
Preheat your oven to 375°F (190°C). Grease and lightly flour a standard 9×5 inch loaf pan, or line it with parchment paper for easy removal. Set aside.
Step 2: Mix the Dry Ingredients
In a large bowl, whisk together the flour, baking soda, cinnamon, nutmeg, salt, and sugar. Whisking ensures that the leavening agent (baking soda) is evenly distributed—this is crucial since we aren’t using yeast!
Step 3: Combine the Wet Ingredients
In a separate medium bowl, mix the lightly beaten egg, buttermilk, melted butter, and vanilla extract until just combined.
Step 4: Bring It Together (But Don’t Overmix!)
Pour the wet ingredients into the dry ingredients. Use a wooden spoon or a spatula to gently fold everything together. Mix only until you no longer see streaks of dry flour. Overmixing develops gluten and makes the bread tough.
Step 5: Fold in the Jewels
Gently fold in the raisins. Make sure they are distributed evenly throughout the batter.
Step 6: Bake Time!
Scrape the batter into your prepared loaf pan and smooth the top slightly. Bake for 40 to 45 minutes. To check for doneness, insert a toothpick into the center; if it comes out clean or with a few moist crumbs attached, it’s ready.
Step 7: Cool Down
Let the bread cool in the pan for about 10 minutes. Then, carefully turn it out onto a wire rack to cool completely.
Step 8: Glaze if Desired
If you are making the simple glaze, whisk the powdered sugar and milk (or lemon juice) together until smooth. Drizzle generously over the completely cooled loaf. If you glaze while warm, the glaze will melt right off!
Serving Suggestions: How to Enjoy It Best
The best way to eat Irish Raisin Bread is simply:
- Warm Slice: Spread generously with salted butter and enjoy with a cup of strong black tea (builders’ tea is traditional!).
- French Toast Style: This bread makes incredible, hearty French toast the next day.
- Jam Buddy: Serve alongside homemade marmalade or strawberry jam.
Customization and Variations
This recipe is a fantastic base for experimentation!
- Citrus Zest: Add the zest of one orange to the dry ingredients for a bright, fruity note that pairs beautifully with raisins.
- Nutty Addition: Fold in 1/2 cup of chopped walnuts or pecans for extra crunch.
- Spice It Up: For a richer flavor, swap the cinnamon and nutmeg for 1 teaspoon of mixed spice (often sold as ‘Pumpkin Pie Spice’ in the US).
Estimated Nutritional Information
Please remember these are just friendly estimates for one slice (assuming 12 slices total, without glaze):
Calories: Approximately 210-240
Fat: 5g
Carbohydrates: 40g
Sugar: 18g
Protein: 4g
Note: This is based on standard ingredient measurements and does not account for variations in brand or added glaze.
Frequently Asked Questions (FAQs)
Q: Can I use regular milk instead of buttermilk?
A: You certainly can, but the result will be slightly less tender. If you don’t have buttermilk, you can make a quick substitute: measure 1 cup of regular milk and stir in 1 tablespoon of white vinegar or lemon juice. Let it sit for 5 minutes until it curdles slightly. Use this as your buttermilk replacement.
Q: Why is my bread dense?
A: The most common cause for density in quick breads like this is overmixing. Mix only until the ingredients are just combined. Also, ensure your baking soda is fresh and active!
Q: How long does Irish Raisin Bread stay fresh?
A: Stored properly in an airtight container at room temperature, this bread will stay wonderfully fresh for 3 to 4 days. If it starts to dry out, slice it up and toast it—it’s fantastic that way!
Happy baking, everyone! I hope this comforting loaf brings a little piece of the Emerald Isle right into your kitchen. Let me know how it turns out in the comments below!