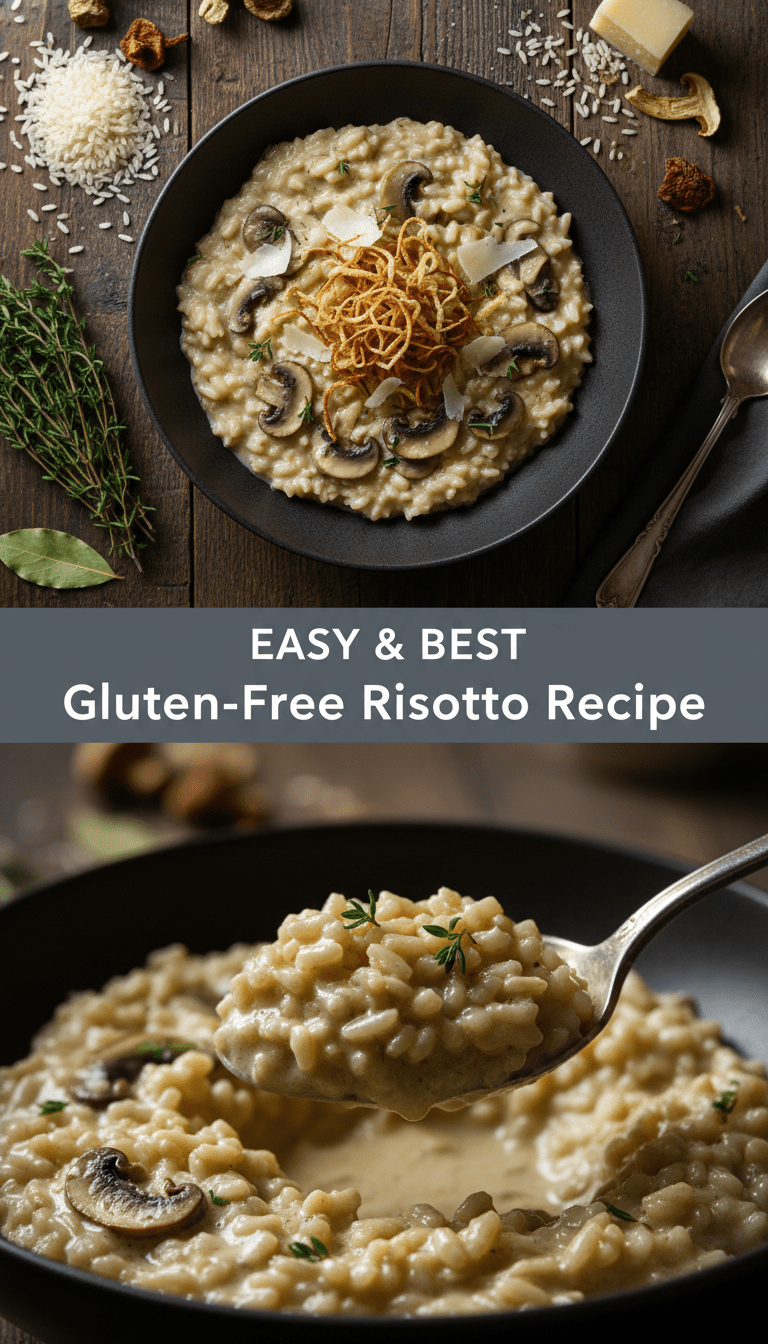
Hey food lovers! Welcome back to my kitchen. Today, we are tackling a classic that often scares people off: Risotto. But guess what? Making truly creamy, luxurious risotto without gluten is totally achievable, and honestly, it’s easier than you think!
This isn’t just any rice dish; it’s a slow-cooked labor of love that results in a dish so velvety smooth, you’ll forget all about the wheat flour typically used for thickening. If you thought risotto was off-limits on a gluten-free diet, prepare to be delighted!
Quick Facts
Prep time: 15 minutes
Cooking time: 30 minutes
Total time: 45 minutes
Serving size: 4 generous portions
Why You’ll Love This Recipe
This recipe focuses on the technique—the gentle stirring that releases the starch from the Arborio rice—which is naturally gluten-free, by the way! We skip the butter-heavy roux and rely on quality stock, good technique, and a final swirl of Parmesan cheese for that signature creamy texture. It’s inherently gluten-free, deeply satisfying, and perfect for a cozy night in or impressing guests.
Ingredients You’ll Need
For the best results, make sure your vegetable or chicken stock is certified gluten-free.
- 6 cups good quality Gluten-Free Vegetable or Chicken Stock (kept hot!)
- 2 tablespoons Olive Oil
- 1 tablespoon Unsalted Butter (or extra oil for dairy-free)
- 1 medium Yellow Onion, finely chopped
- 2 cloves Garlic, minced
- 1 ½ cups Arborio Rice (naturally gluten-free)
- ½ cup Dry White Wine (like Pinot Grigio or Sauvignon Blanc – check labels if concerned about additives, but usually fine)
- ½ cup freshly grated Parmesan Cheese (plus extra for serving)
- 2 tablespoons Fresh Parsley, chopped (for garnish)
- Salt and freshly ground Black Pepper to taste
Step-by-Step: Creating Creamy Perfection
The secret to great risotto is patience! Don’t rush the broth additions.
Step 1: Warming the Stock
In a saucepan, bring your 6 cups of stock to a gentle simmer over low heat. It is crucial that the stock remains hot throughout the cooking process. Adding cold stock stops the cooking process and ruins the creaminess.
Step 2: Building the Flavor Base (Soffritto)
In a large, heavy-bottomed pot or Dutch oven, melt the olive oil and butter over medium heat. Add the chopped onion and cook gently until soft and translucent—about 5 to 7 minutes. Add the minced garlic and cook for 1 minute more until fragrant. Be careful not to burn the garlic!
Step 3: Toasting the Rice (Tostatura)
Add the Arborio rice to the pot. Stir constantly for about 2 minutes until the edges of the grains look slightly translucent but the centers are still opaque. This step seals the outside of the rice, allowing it to cook evenly while slowly releasing its starch.
Step 4: Deglazing with Wine
Pour in the white wine. Stir constantly until the wine is completely absorbed by the rice and you can no longer smell the alcohol strongly—this usually takes about 2 minutes.
Step 5: The Slow Addition of Broth
Now, the fun part! Add one full ladle (about ¾ cup) of the hot stock to the rice. Stir gently but continuously until the liquid is almost completely absorbed. Once absorbed, add the next ladle of hot stock.
Continue this process, one ladle at a time, stirring frequently, for about 20 to 25 minutes. The constant stirring rubs the grains together, releasing the starch needed for that famous creaminess. Taste the rice periodically. It’s done when it’s creamy, but the center of each grain still has a slight, pleasant bite (al dente).
Step 6: The Grand Finale (Mantecatura)
Remove the pot from the heat. This is the moment we finish the texture! Stir in the ½ cup of grated Parmesan cheese vigorously. Add a final grind of black pepper and taste for salt (remember the stock is already salted). The mixture should flow gently like slow-moving lava—not stiff, and not soupy. If it’s too stiff, stir in a tiny splash more hot stock.
Step 7: Rest and Serve
Cover the pot and let the risotto rest for 2 minutes. Serve immediately in warm bowls, garnished generously with extra Parmesan and fresh parsley.
Serving Suggestions
Risotto shines best when it’s the star!
- Simple Green Salad: A light, lemony vinaigrette balances the richness perfectly.
- Roasted Asparagus: The slight bitterness of asparagus is a wonderful contrast.
- Pan-Seared Scallops: For an elegant, protein-packed meal.
Tips for Customization and Variations
Since we made a basic version, let’s talk about jazzing it up!
- Mushroom Magic: Sauté 8 oz of sliced mushrooms (cremini or shiitake) separately in butter and add them in during the last 5 minutes of cooking.
- Lemon Zest Brightness: Stir in the zest of one whole lemon along with the Parmesan cheese for a vibrant lift.
- Herb Swap: Substitute parsley with fresh basil or chives for a different flavor profile.
- Seasonal Veggies: Peas, finely chopped butternut squash (added early with the onions), or even sun-dried tomatoes work beautifully.
Nutritional Information (Estimated per Serving)
Note: This is a rough estimate and will vary based on the specific stock and cheese used.
Calories: Approximately 450-500
Protein: 18g
Fat: 15g
Carbohydrates: 65g
Frequently Asked Questions (FAQs)
Q1: Can I use regular long-grain white rice instead of Arborio?
A1: No, not for authentic risotto! Arborio (or Carnaroli/Vialone Nano) rice has the necessary high starch content to create the creamy texture when cooked properly. Regular long-grain rice will just end up being fluffy, not creamy.
Q2: Is risotto inherently gluten-free?
A2: Yes, Arborio rice is naturally gluten-free! The only things you need to check are the stock (ensure it’s certified GF, as some bouillon cubes contain wheat) and any Parmesan cheese you buy, though most quality Parmesans are naturally GF.
Q3: Why is my risotto gluey instead of creamy?
A3: You might be stirring too aggressively or too little. You need gentle but constant stirring to release the starch without smashing the rice grains. Also, make sure you are adding the liquid one ladle at a time and waiting until it’s nearly absorbed before adding the next.
Enjoy this bowl of pure, creamy comfort. Happy cooking!