Hey there, fellow food lovers! Are you ready to dive into a recipe that screams comfort food but keeps things totally tummy-friendly? I know, I know—ordering Chinese takeout when you’re craving that sticky, sweet, and tangy Orange Chicken is the easy route. But today, we’re taking back the kitchen!
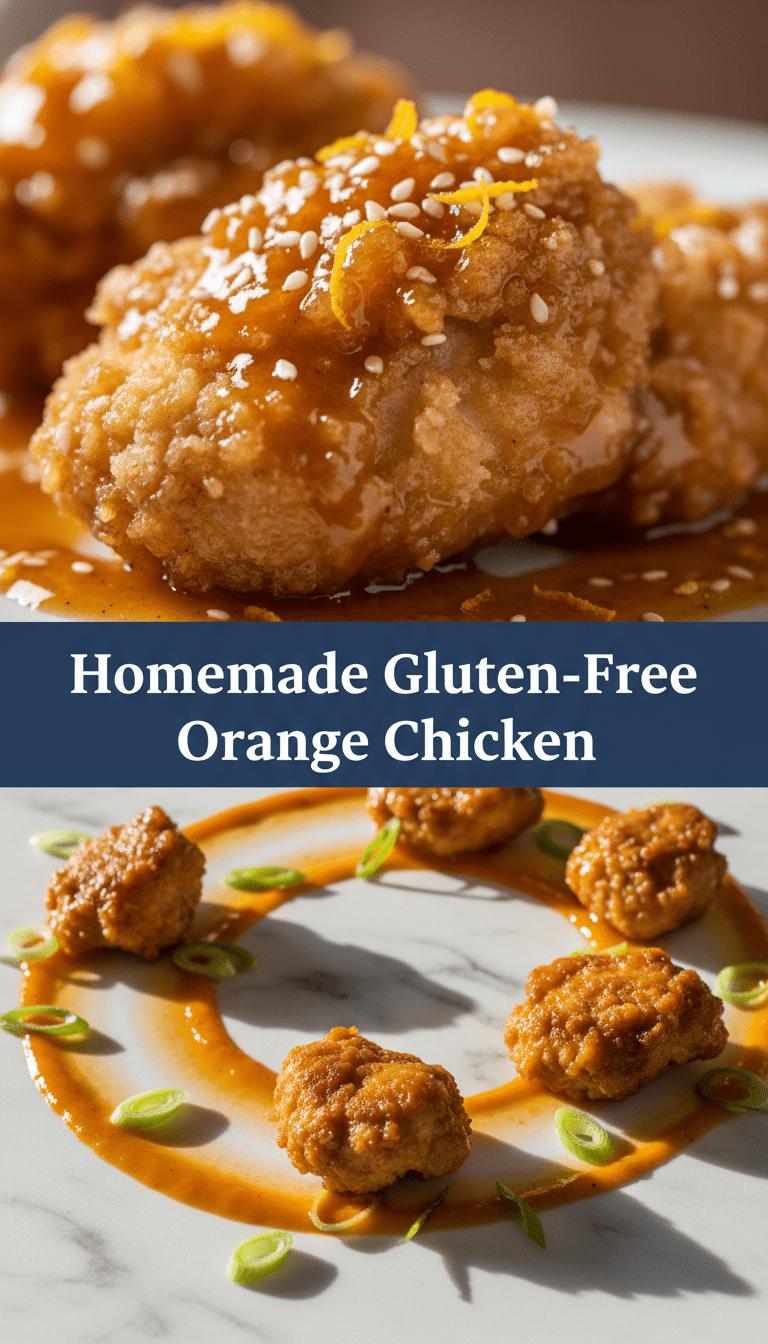
I’ve perfected this Homemade Gluten-Free Orange Chicken recipe, and trust me, it’s crispy, flavorful, and absolutely dripping in the best orange sauce you’ve ever had. Best of all? No gluten worries here! Get ready for your new favorite weeknight meal.
Quick Facts About Our Amazing Orange Chicken
Here’s the rundown so you can plan your cooking adventure:
Prep time: 20 minutes
Cooking time: 25 minutes
Total time: 45 minutes
Serving size: 4 happy people
Why You’ll Love This Recipe
Why bother making it when you can pick up the phone? Simple!
1. Incredibly Crispy: We nail that perfect crunch using gluten-free flour and a secret technique for frying.
2. Healthier Sauce: You control the sugar! Our sauce is bright, zesty, and uses real orange juice.
3. Allergy Friendly: Completely gluten-free and easily adaptable for dairy-free diets too!
4. Better Than Takeout: Seriously, once you taste this homemade glaze, you won’t look back.
Gathering Your Golden Ingredients
We’re breaking this down into two parts: the Chicken & Coating, and the Glorious Orange Sauce.
For the Crispy Chicken
- 1.5 lbs boneless, skinless chicken breasts or thighs, cut into bite-sized pieces
- 1 cup Gluten-Free All-Purpose Flour Blend (make sure it contains xanthan gum)
- 1/2 cup Potato Starch or Cornstarch (for extra crispiness)
- 1 teaspoon salt
- 1/2 teaspoon black pepper
- 1/2 teaspoon garlic powder
- 2 large eggs, lightly beaten
- Vegetable oil or canola oil, for frying (about 2-3 cups)
For the Zesty Orange Sauce
- 1 cup fresh orange juice (from about 2-3 oranges)
- Zest of 1 large orange
- 1/2 cup Gluten-Free Tamari or Gluten-Free Soy Sauce
- 1/4 cup Rice Vinegar
- 1/2 cup packed light brown sugar (adjust to taste)
- 2 cloves garlic, minced
- 1 teaspoon fresh ginger, grated
- 1 tablespoon sesame oil
- 2 tablespoons water mixed with 1 tablespoon cornstarch (this is your “slurry” for thickening)
Step-by-Step Instructions: From Prep to Plate
Let’s get cooking! It’s easier than you think.
H3: Step 1: Prepare the Chicken Coating
1. In a shallow dish, whisk together the GF flour, potato starch (or cornstarch), salt, pepper, and garlic powder. This is your dredging station!
2. In a separate shallow dish, lightly beat the eggs.
3. Dip each piece of chicken first into the egg mixture, letting the excess drip off.
4. Then, dredge the chicken thoroughly in the flour mixture, pressing gently so the coating sticks well. Set the coated chicken aside on a plate.
H3: Step 2: Get That Crunch (The Frying Part!)
1. Pour enough oil into a large, heavy-bottomed skillet or Dutch oven to reach about 1 inch deep. Heat the oil over medium-high heat until it reaches about 350°F (if you don’t have a thermometer, a pinch of flour should sizzle immediately).
2. Carefully place the chicken pieces into the hot oil, ensuring you don’t overcrowd the pan. Work in batches!
3. Fry for about 4-5 minutes per side, until golden brown and cooked through.
4. Use tongs or a slotted spoon to transfer the crispy chicken to a wire rack set over paper towels to drain excess oil.
H3: Step 3: Whisk Up the Magic Sauce
1. While the chicken is draining, grab a small saucepan. Combine the orange juice, orange zest, tamari, rice vinegar, brown sugar, minced garlic, and grated ginger.
2. Bring the mixture to a simmer over medium heat, stirring until the sugar dissolves.
3. Once simmering, whisk in the cornstarch slurry (water and cornstarch mixture). Keep stirring constantly until the sauce thickens enough to coat the back of a spoon—about 1 to 2 minutes.
4. Remove from the heat and stir in the sesame oil. Taste it! Need more zing? Add a tiny splash more vinegar. Too tart? Add a pinch more sugar.
H3: Step 4: Combine and Serve
1. Place all your crispy, glorious chicken pieces into a large bowl.
2. Pour about two-thirds of the orange sauce over the chicken and gently toss until every piece is beautifully glazed. (Save the rest of the sauce for drizzling!)
3. Serve immediately!
Serving Suggestions
This Orange Chicken is rich and flavorful, so it pairs perfectly with lighter sides:
- Steamed Jasmine rice or brown rice.
- Steamed broccoli or snap peas tossed with a little extra sesame oil.
- A simple cucumber and carrot salad.
Tips for Customization & Variations
Want to make this recipe your own? Here are a few ways to switch things up:
- Air Fryer Alternative: For less oil, skip the deep fry! Spray the coated chicken lightly with cooking spray and air fry at 375°F for 12-15 minutes, flipping halfway, until crispy. Toss in sauce afterward.
- Spice It Up: Add 1/2 teaspoon of red pepper flakes to the sauce mixture for a little kick!
- Veggie Boost: Toss in sliced bell peppers or thinly sliced onions into the sauce at the end just before you add the chicken for extra texture.
Estimated Nutritional Information (Per Serving)
Please remember this is an estimate, as ingredient brands vary!
Calories: 450-550 (depending on oil absorption and sugar content)
Protein: 35g
Fat: 20g
Carbohydrates: 45g
Frequently Asked Questions (FAQs)
Q: Can I use orange zest from a bottle instead of fresh?
A: While fresh zest has the best aroma and flavor, if you are in a pinch, use about 1 teaspoon of dried orange zest, but I highly recommend using fresh if you can manage it!
Q: Why do I need both GF flour and cornstarch in the coating?
A: The GF flour gives the crust body, but the cornstarch is the secret weapon for that light, airy, and extra-crispy shell that holds up even when smothered in sauce!
Q: How do I store leftovers?
A: Store leftovers in an airtight container in the fridge for up to 3 days. To reheat, I strongly suggest using a toaster oven or baking sheet in a standard oven to re-crisp the coating; microwaving will make the coating soggy.
Enjoy this incredible, guilt-free version of a takeout favorite! Happy cooking!