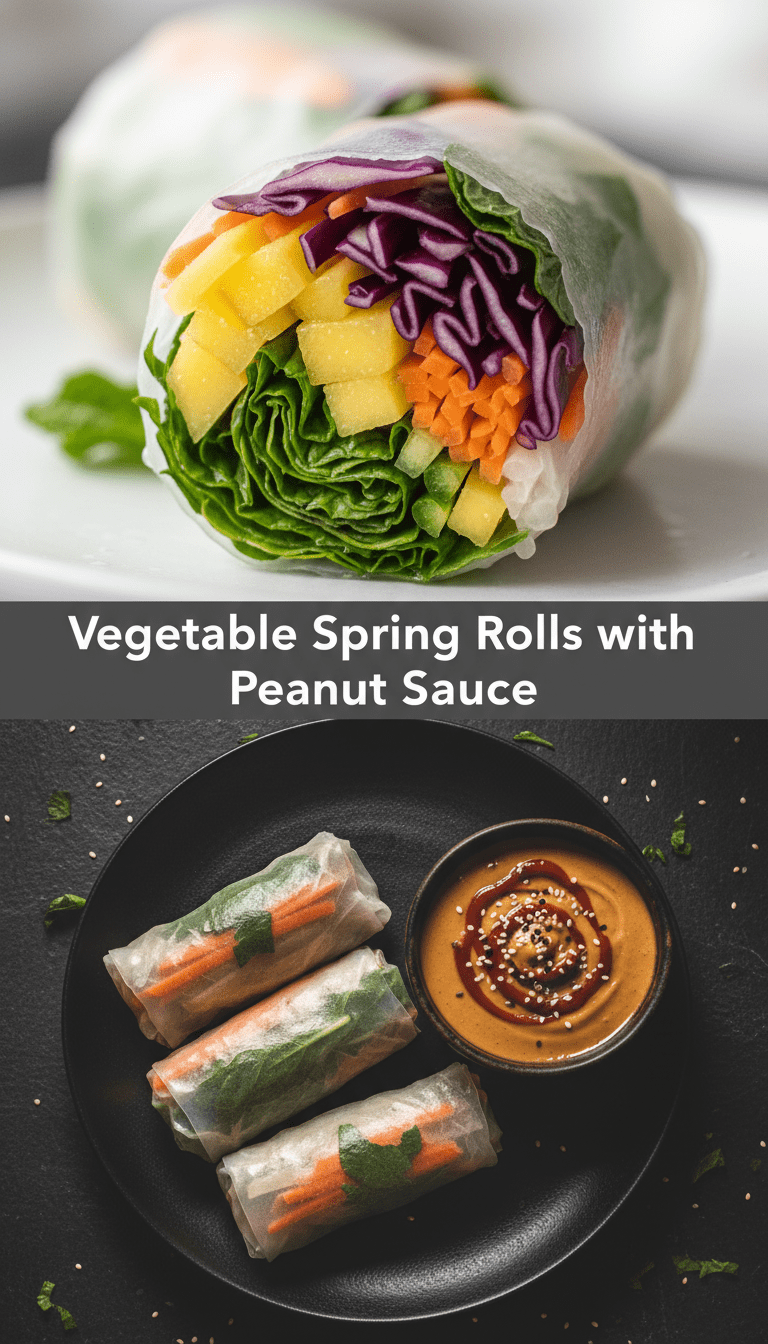
Hey food lovers! Welcome back to the kitchen. Today, we’re diving headfirst into something that’s crunchy, fresh, packed with veggies, and served with the most addictive dipping sauce known to humanity: Vegetable Spring Rolls with Peanut Sauce.
Forget those heavy, deep-fried versions you might be thinking of. We’re keeping these light, vibrant, and super easy to make. Whether you’re looking for a healthy appetizer, a fun lunch, or just a snack that makes you feel good, these rolls are the answer. Plus, that homemade peanut sauce? Game changer! Let’s get rolling!
Quick Facts
Here’s a quick overview so you can plan your kitchen time:
Prep time: 30 minutes
Cooking time: 5 minutes (mostly for the sauce)
Total time: 35 minutes
Serving size: Makes about 10-12 spring rolls
Why You’ll Love This Recipe
Honestly, what’s not to love?
1. Crisp & Fresh: These are packed with raw, crunchy vegetables, making them incredibly refreshing.
2. Light & Healthy: We are not deep-frying these; we are using delicate rice paper wrappers for a healthier, lighter bite.
3. The Sauce: Seriously, the creamy, tangy, slightly sweet peanut sauce deserves its own parade. You’ll want to drizzle it on everything.
4. Perfect for Parties: They look impressive but are surprisingly simple to assemble once you get the hang of wrapping!
Ingredients You’ll Need
We’ve broken this down into two parts: the Rolls and the Glorious Peanut Sauce.
For the Vegetable Spring Rolls:
- 10-12 sheets of round rice paper wrappers (Banh Trang)
- 1 cup shredded carrots
- 1 cup thinly sliced red or green cabbage
- 1 large cucumber, thinly julienned (cut into matchsticks)
- 1 cup bean sprouts
- 1/2 cup fresh mint leaves
- 1/2 cup fresh cilantro (coriander) leaves
- Optional: Cooked thin rice vermicelli noodles (about 1/2 cup dry)
For the Creamy Peanut Dipping Sauce:
- 1/2 cup creamy peanut butter (natural style works best)
- 1/4 cup hot water (for thinning)
- 3 tablespoons soy sauce (or tamari for gluten-free)
- 2 tablespoons lime juice (freshly squeezed is best!)
- 1 tablespoon maple syrup or honey
- 1 teaspoon grated fresh ginger
- 1 small clove garlic, minced (optional)
- 1/2 teaspoon sriracha or chili garlic sauce (adjust to your spice preference)
Step-by-Step Rolling Magic
This recipe is mostly about assembly, which is the fun part!
Step 1: Prep Your Veggies and Noodles
First things first, wash and chop all your vegetables into thin, manageable strips (julienne). If you are using noodles, cook them according to package directions, drain, rinse with cold water, and set aside. Having everything prepped—what we call mise en place—is crucial for easy rolling.
Step 2: Whisk Up the Peanut Sauce
In a medium bowl, combine the peanut butter, soy sauce, lime juice, maple syrup, ginger, garlic, and sriracha. Whisk thoroughly. It will be very thick at first! Gradually whisk in the hot water, one tablespoon at a time, until the sauce reaches a smooth, drizzly consistency. Taste it! Need more tang? Add lime. Need more sweetness? Add syrup. Set aside.
Step 3: The Rice Paper Bath
This is where most beginners get nervous, but trust me, it’s easy! Fill a wide, shallow dish (like a pie plate) with warm water. Quickly dip one sheet of rice paper into the water for about 5-10 seconds. You want it pliable, not floppy. Lay the softened wrapper flat on a clean cutting board or plate.
Step 4: Layering Your Filling
Arrange your fillings in a neat line horizontally across the lower third of the wrapper, leaving about an inch of space on either side. Don’t overfill! A good layering order is: a few noodles (if using), then a line of carrots, cucumber, cabbage, and top generously with mint and cilantro.
Step 5: Rolling Time!
This is just like folding a burrito:
1. Fold the bottom edge up and over the filling.
2. Tuck the sides in tightly towards the center.
3. Roll the wrapper tightly upwards until you have a sealed, compact roll. The moisture from the wrapper will seal itself shut!
Repeat until all your filling or wrappers are used up.
Serving Suggestions
Serve immediately for the best texture! Arrange the rolls artfully on a platter. Make sure the peanut sauce is front and center for dipping. If you want to add an extra layer of flavor, drizzle a little sauce directly over the top of the rolls before serving.
Tips for Customization & Variations
Feeling creative? Here are a few ways to switch things up:
- Add Protein: Try adding pre-cooked shrimp (prawns) or thinly sliced, pan-seared tofu strips to the filling.
- Herb Swap: If you aren’t a fan of mint, swap it out for basil or even some finely chopped chives.
- Spice It Up: Soak the rice paper wrapper briefly in water mixed with a tiny splash of rice vinegar for an extra tangy wrapper flavor.
- Sauce Boost: For a richer peanut sauce, add a teaspoon of toasted sesame oil at the end.
Nutritional Information (Estimated per Roll, excluding sauce)
Please remember these are rough estimates, as vegetable portions vary widely!
Calories: Approximately 60-80 calories
Fat: Low
Protein: Minimal (unless adding tofu/shrimp)
Fiber: High
The peanut sauce will increase the calorie and fat content, but remember, healthy fats are good for you!
Frequently Asked Questions (FAQs)
Q: Can I make these ahead of time?
A: You can prepare the filling and the sauce a day in advance. However, the rolls themselves are best made within an hour of serving. Rice paper wrappers tend to get sticky or slightly tough if left sitting for too long, especially in the fridge.
Q: My wrapper broke when I tried to roll it! What did I do wrong?
A: You likely either dipped it for too long (making it too soggy) or not long enough (making it too stiff). Aim for a quick dip in warm water until it feels soft but still has a tiny bit of structure left. It firms up slightly as you fill and roll it.
Q: Can I bake or air-fry these instead of keeping them fresh?
A: If you want a fried spring roll experience, you should use pre-made spring roll wrappers (thicker, wheat-based pastry), not the delicate rice paper wrappers used for fresh rolls. These fresh ones are designed to be eaten raw. If you bake these, they just dry out and become brittle, not crispy.
Enjoy your healthy, crunchy adventure! Let me know in the comments how your rolling technique turned out! Happy cooking!