Hey food lovers! Welcome back to my kitchen. Today, we are diving headfirst into a dessert that screams sunshine, happiness, and pure, unadulterated bliss: Mango Pudding! Forget those complicated, fussy desserts; this recipe is so simple, so creamy, and so incredibly vibrant, it’ll become your go-to summer treat. Seriously, if you love mangoes, you need this recipe in your life. It’s the perfect blend of sweet fruit and delicate, wobbly perfection. Let’s get making this magic!
Quick Facts About This Dreamy Dessert
Here’s a quick snapshot so you know exactly what you’re getting into:
Prep time: 15 minutes
Cooking time: 10 minutes
Chilling time: Minimum 4 hours (or overnight for best results!)
Total time: About 5 hours 15 minutes (mostly inactive chilling time!)
Serving size: 4 generous servings
Why You’ll Love This Recipe
Why bother making this at home when you can buy it? Because homemade always wins!
- Incredibly Fresh Flavor: Using ripe, fresh mangoes makes a world of difference compared to artificial flavors.
- Perfect Texture: It sets up beautifully—silky smooth, slightly jiggly, and melts in your mouth.
- No Oven Required: This is a stovetop and fridge dessert, meaning no heating up the kitchen, which is a huge win during warmer months!
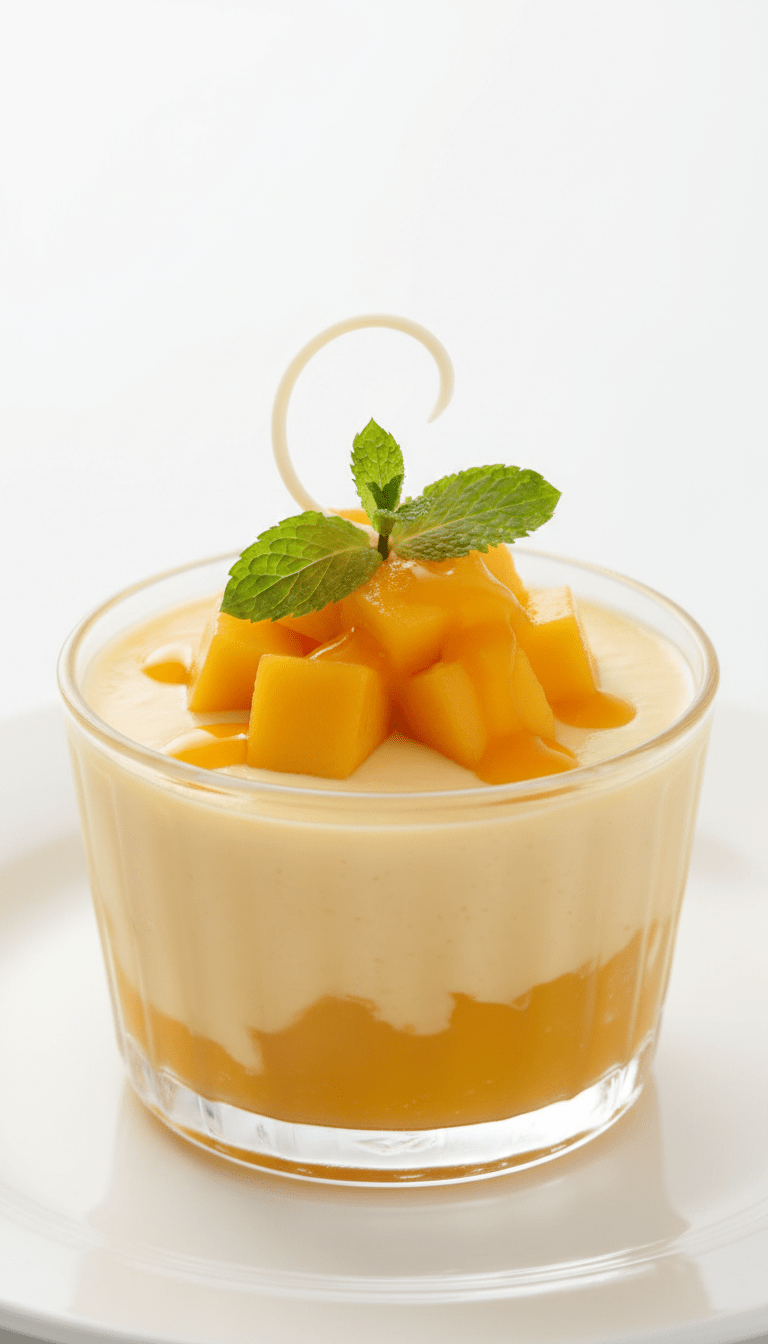
- Visually Stunning: That vibrant orange-yellow color is just gorgeous on any dessert table.
Gather Your Golden Goodies (Ingredients)
You only need a few simple ingredients to achieve pudding perfection. I recommend using the sweetest mangoes you can find—Alphonso or Ataulfo (Honey) mangoes are usually my top picks!
For the Mango Puree:
- 2 large, very ripe mangoes (about 1.5 cups of pulp once blended)
- 1/4 cup water (or reserved mango juice)
- 2 tablespoons granulated sugar (adjust based on mango sweetness)
For the Pudding Base:
- 1 cup whole milk (or use evaporated milk for extra richness)
- 1/2 cup heavy cream (optional, but highly recommended for luxury!)
- 1/3 cup granulated sugar
- 1/4 cup cold water
- 2 tablespoons unflavored gelatin powder (or 4 sheets of gelatin)
Step-by-Step: Creating Silky Smooth Heaven
Follow these easy steps, and you’ll be spooning up sunshine in no time!
Step 1: Blooming the Gelatin
This is crucial! In a small bowl, sprinkle the gelatin powder over the 1/4 cup of cold water. Let it sit undisturbed for about 5 to 10 minutes. It will absorb the water and look spongy—this is called “blooming,” and it ensures your pudding sets smoothly without lumps.
Step 2: Preparing the Mango Puree
Peel and chop your fresh mangoes. Place the mango chunks, 1/4 cup of water, and 2 tablespoons of sugar into a blender. Blend until completely smooth. Taste it! If your mangoes aren’t super sweet, add a touch more sugar now. Strain this puree through a fine-mesh sieve into a separate bowl to ensure there are absolutely no fibrous bits left. Set aside.
Step 3: Heating the Milk Base
In a medium saucepan, combine the whole milk, heavy cream (if using), and the remaining 1/3 cup of sugar. Heat this mixture over medium heat, stirring constantly until the sugar is fully dissolved and the mixture is steaming, but do not let it boil.
Step 4: Melting the Gelatin
Remove the saucepan from the heat. Add the bloomed gelatin mixture to the warm milk. Whisk gently until the gelatin has completely dissolved into the milk. This should only take a minute or two.
Step 5: Combining and Pouring
Pour the warm milk mixture directly into your strained mango puree. Whisk everything together thoroughly until the color is uniform and beautiful.
Step 6: Setting the Pudding
Carefully pour the mango mixture into your serving ramekins, small bowls, or one large decorative mold. Cover each container tightly with plastic wrap (this prevents a skin from forming on top).
Refrigerate for at least 4 hours, but overnight is ideal for the firmest, silkiest set.
Serving Suggestions: Make it Shine!
Once fully chilled and firm, it’s time to serve!
For a classic presentation, you can gently dip the bottom of the ramekin in warm water for about 10 seconds to loosen the pudding, then invert it onto a small plate.
Top with:
- A dollop of fresh whipped cream.
- A drizzle of passion fruit sauce for a tangy contrast.
- A few thin slices of fresh mango.
- A sprinkle of toasted coconut flakes.
Tips for Customization & Variations
Want to jazz it up? Here are my favorite ways to play with this base recipe:
1. Coconut Dream: Replace the whole milk with full-fat canned coconut milk. This gives the pudding a wonderful, slightly tropical richness.
2. Spice It Up: Add 1/4 teaspoon of vanilla extract or a tiny pinch of cardamom powder to the milk mixture while heating for an aromatic twist.
3. Layered Delight: Make a plain gelatin layer (using just water and a little sugar) and chill it slightly. Pour half the mango mixture, let it set partially, then pour the rest. This creates a two-toned look!
Nutritional Information (Estimated Per Serving)
Please remember these are rough estimates, as mango size and cream content vary widely!
Calories: 220-250 kcal
Fat: 8-12g
Carbohydrates: 30g
Protein: 4g
Frequently Asked Questions (FAQs)
Q1: Can I use frozen mangoes instead of fresh?
A: Yes, you absolutely can! Thaw the frozen mango completely, and you might need to reduce the added water slightly since frozen fruit often releases more liquid when thawing. Ensure you strain the thawed puree very well.
Q2: My pudding didn’t set! What went wrong?
A: The most common culprits are: 1) You didn’t let the gelatin bloom long enough, or 2) The milk mixture was too hot when you added the bloomed gelatin (which can “kill” its setting power). Make sure the milk is warm, not boiling, when you dissolve the gelatin.
Q3: How long will this last in the fridge?
A: Because this recipe uses fresh fruit and dairy, it’s best eaten within 3 to 4 days when stored in an airtight container in the refrigerator.
Enjoy every creamy, dreamy spoonful! Let me know in the comments how yours turned out! Happy cooking!