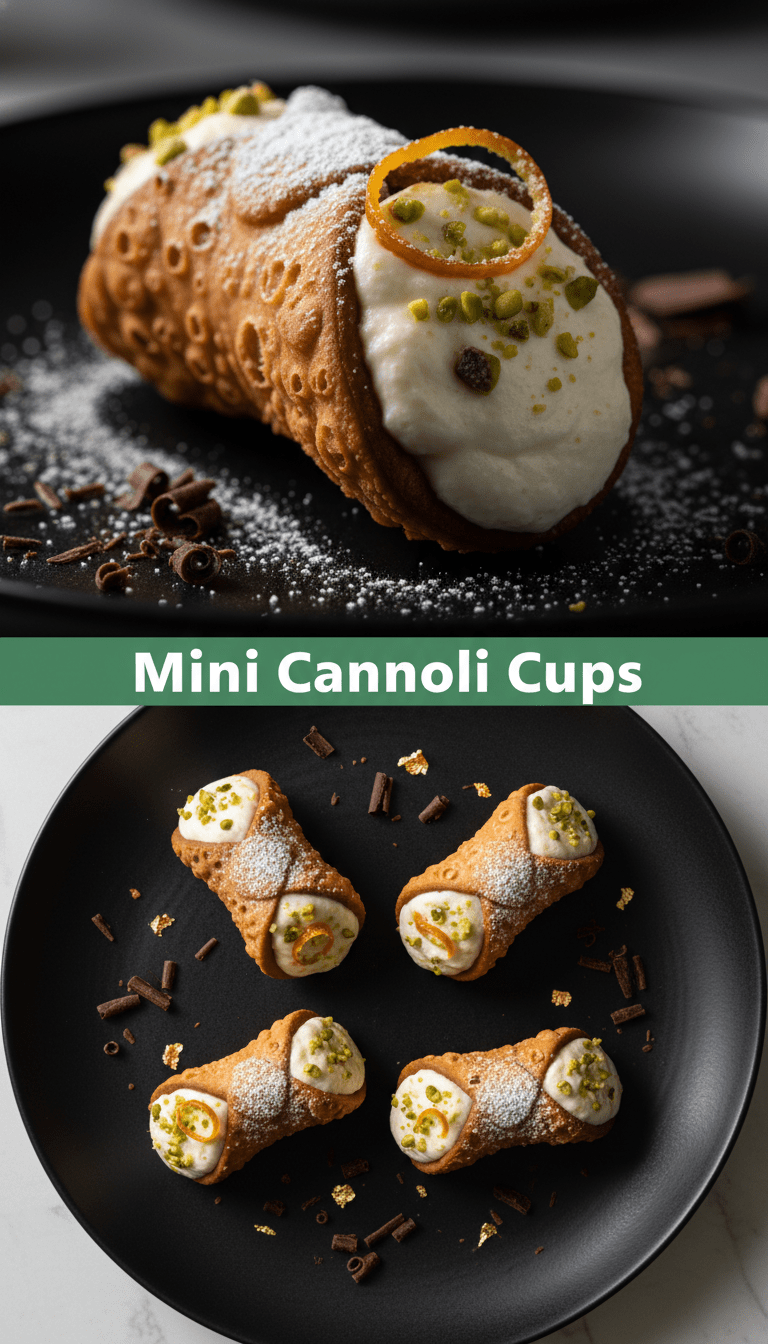
Hey everyone, and welcome back to my kitchen! If you’ve ever swooned over a classic Italian cannoli but felt a little intimidated by the whole deep-frying and rolling process, then do I have a treat for you today! We are skipping the tricky shell-making and diving straight into the creamy, dreamy filling by creating Mini Cannoli Cups.
These little bites capture all the glorious flavor of a traditional cannoli—that sweet, citrusy ricotta filling—but we’re using crispy, ready-made tart shells or even sturdy cookies to create the perfect, easy-to-handle dessert. They look fancy, but trust me, they are unbelievably simple. Let’s get baking (well, mostly just assembling)!
Quick Facts
Prep time: 20 minutes
Cooking time: 0 minutes (unless you count chilling!)
Total time: 20 minutes plus chilling
Serving size: Makes about 18-20 mini cups
Why You’ll Love This Recipe
Seriously, what’s not to love?
- Zero Frying Required: We are saying goodbye to bubbling oil and specialized cannoli forms!
- Speedy Dessert: You can whip these up faster than you can order dessert out.
- Perfectly Portioned: They are bite-sized, making them ideal for parties or when you just need one sweet treat (though resisting just one is tough!).
- Authentic Flavor: The filling tastes just like Grandma made it!
Ingredients You’ll Need
For these delicious cups, we are dividing the ingredients into two parts: the shells and the filling.
For the Shells (The Easy Way!)
- 1 box (about 18-20) pre-made mini phyllo pastry shells OR
- 1 package of small, sturdy shortbread or vanilla wafer cookies
For the Ricotta Filling
- 15 ounces whole milk ricotta cheese, well-drained (this is crucial!)
- 1/2 cup powdered sugar (or more, to taste)
- 1 teaspoon pure vanilla extract
- 1/2 teaspoon ground cinnamon
- Zest of one small orange (or lemon, if you prefer)
- 2 tablespoons finely chopped candied citrus peel or mini chocolate chips (optional, but highly recommended!)
For Garnish
- Extra powdered sugar for dusting
- Crushed pistachios or mini chocolate chips
Step-by-Step Instructions: Building Your Cannoli Cups
This is assembly, not heavy-duty baking, so get ready for some fun!
Step 1: Draining the Ricotta (Don’t Skip This!)
This is the secret to a filling that doesn’t weep all over your pretty shells. Place your ricotta cheese in a fine-mesh sieve lined with a few layers of cheesecloth or a sturdy paper towel. Set the sieve over a bowl and let it drain in the refrigerator for at least 30 minutes, or up to a few hours. You want to remove as much liquid as possible!
Step 2: Preparing the Filling Base
In a medium bowl, combine the well-drained ricotta, powdered sugar, vanilla extract, cinnamon, and citrus zest.
Step 3: Mixing to Perfection
Using a hand mixer or a whisk, mix the ingredients until the filling is smooth and creamy. You don’t want to overmix, but make sure there are no lumps of sugar remaining. Taste it here—if you like it sweeter, add another tablespoon of powdered sugar. Gently fold in your chopped candied peel or mini chocolate chips now.
Step 4: Chilling for Structure
Cover the bowl and refrigerate the ricotta mixture for at least 15 minutes. This allows the flavors to meld and helps the mixture firm up, making it easier to pipe or spoon into the shells.
Step 5: Filling the Cups
If you have a piping bag fitted with a large star tip, use it for that beautiful, professional look! If not, don’t worry—just use a small spoon. Carefully fill each mini phyllo shell or sturdy cookie base right up to the top with the creamy ricotta mixture.
Step 6: The Grand Finale Garnish
Dust the filled cups lightly with powdered sugar. Sprinkle the edges or the very top with crushed pistachios or a few extra mini chocolate chips.
Serving Suggestions
These Mini Cannoli Cups are best served within a few hours of filling them, as the moisture from the ricotta will eventually soften the pastry shells.
Serve them chilled alongside strong Italian coffee (espresso!), or as part of a gorgeous dessert platter for holidays or parties. They are the perfect little sweet bite after a heavy dinner!
Tips for Customization and Variations
The beauty of this recipe is how easy it is to change up!
- Chocolate Lover’s Dream: Swap the citrus zest for 2 tablespoons of unsweetened cocoa powder in the filling, and use mini dark chocolate chips instead of candied fruit.
- Nut-Free Option: Simply omit the nuts from the garnish and use mini chocolate chips or sprinkles for texture.
- Boozy Kick: Add 1 teaspoon of Marsala wine or dark rum to the filling mixture for an authentic, slightly deeper flavor profile.
- Gluten-Free Shells: Look for gluten-free vanilla wafers or mini shortbread cookies to maintain the structure without the wheat.
Nutritional Information (Estimated Per Cup)
Please remember this is an estimate based on using standard phyllo shells and the ingredients listed above.
Calories: 120–150
Protein: 4g
Fat: 6g
Carbohydrates: 18g
Frequently Asked Questions (FAQs)
Q1: Can I make these ahead of time?
A: Yes, but with a catch! You can make the ricotta filling up to 2 days in advance and store it tightly covered in the fridge. However, you should only fill the shells about 1 to 3 hours before serving to ensure the shells stay crisp.
Q2: What if I can’t find mini phyllo shells?
A: No problem! Use sturdy vanilla wafers, mini shortbread cookies, or even mini graham cracker cups (if you can find them). Just spoon the filling directly onto the cookie base.
Q3: Why is draining the ricotta so important?
A: Ricotta cheese naturally holds a lot of moisture. If you don’t drain it, your filling will become runny, making it impossible to pipe and causing the pastry shells to become soggy almost immediately. A firm filling is key!
Enjoy making these simple, spectacular Mini Cannoli Cups! Let me know in the comments how you customized yours! Happy baking (or assembling)!