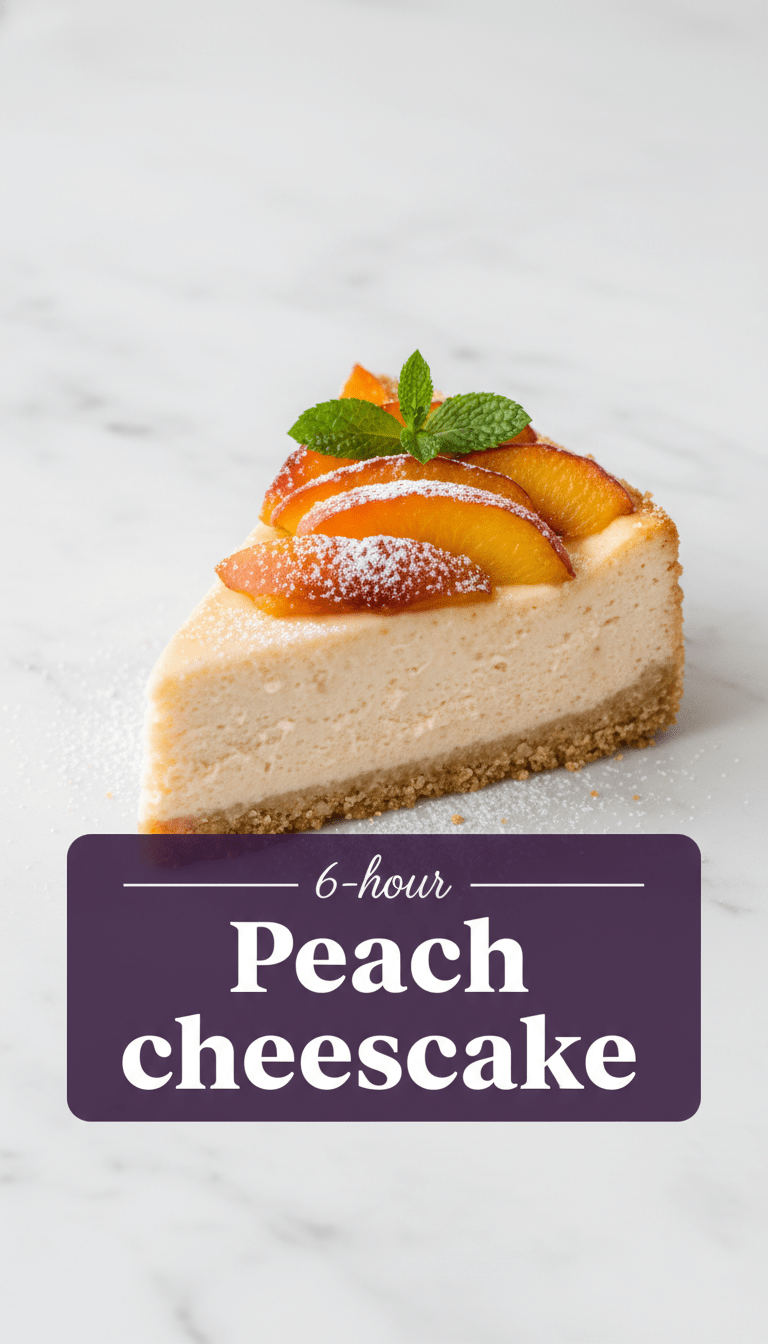
Hello, fellow food lovers! Are you ready for a dessert that screams sunshine, sweet summer days, and pure creamy indulgence? I certainly am! Today, we’re ditching the boring chocolate and diving headfirst into something truly spectacular: the ultimate Peach Cheesecake.
This recipe balances a buttery, crunchy graham cracker crust, a silky smooth cream cheese filling, and a vibrant topping of perfectly caramelized fresh peaches. Trust me, once you try this, it’s going to be your go-to summer centerpiece. Let’s get baking!
Quick Facts
Here’s the lowdown on how quickly you can get this beauty on your table:
Prep time: 35 minutes
Bake time: 60-70 minutes
Cooling/Chilling time: At least 6 hours (preferably overnight!)
Total time: Approximately 7
hours (mostly hands-off chilling)
Serving size: 10-12 generous slices
Why You’ll Love This Recipe
This isn’t just any cheesecake; it’s sunshine in a slice!
- Texture Heaven: You get the contrast between the crisp crust, the dense, creamy filling, and the soft, slightly tangy peaches.
- Perfectly Balanced Flavor: The natural sweetness of ripe peaches cuts through the richness of the cream cheese beautifully.
- Showstopper Dessert: Whether it’s a family barbecue or a fancy dinner party, this cheesecake always gets rave reviews.
Ingredients You’ll Need
Gather your goodies! We’ll split the ingredients into three parts: The Crust, The Filling, and The Peach Topping.
For the Graham Cracker Crust:
- 1 ½ cups graham cracker crumbs (about 1 sleeve of crackers)
- ¼ cup granulated sugar
- 6 tablespoons unsalted butter, melted
For the Creamy Cheesecake Filling:
- 3 (8-ounce) packages full-fat cream cheese, softened to room temperature
- 1 cup granulated sugar
- 1 teaspoon vanilla extract
- ¼ cup sour cream or full-fat Greek yogurt
- 3 large eggs, room temperature
For the Sweet Peach Topping:
- 4 large fresh peaches, peeled, pitted, and sliced (or use 2 cups frozen, thawed)
- 2 tablespoons butter
- ¼ cup packed light brown sugar
- 1 teaspoon lemon juice
- A pinch of cinnamon (optional)
Step-by-Step Baking Magic
Don’t be intimidated by cheesecake! Follow these steps, and you’ll nail it. Remember, patience is key when baking cheesecake.
Step 1: Prepping the Pan and Oven
1. Preheat your oven to 325°F (160°C).
2. Lightly grease a 9-inch springform pan.
3. Pro Tip: To prevent cracks, prepare a water bath. Wrap the bottom and sides of your springform pan tightly with two layers of heavy-duty aluminum foil. This keeps water from seeping in.
Step 2: Building the Buttery Crust
1. In a medium bowl, mix the graham cracker crumbs and ¼ cup sugar.
2. Pour in the melted butter and mix until the crumbs are evenly moistened, like wet sand.
3. Press the mixture firmly and evenly into the bottom of the prepared springform pan. Use the bottom of a measuring cup to really pack it down.
4. Bake the crust for 10 minutes. Let it cool slightly while you make the filling.
Step 3: Mixing the Silky Filling
1. In a large bowl (or the bowl of a stand mixer fitted with the paddle attachment), beat the softened cream cheese on medium speed until it is completely smooth—no lumps allowed! This usually takes 2-3 minutes.
2. Gradually beat in the 1 cup of sugar until just combined.
3. Mix in the vanilla extract and sour cream until smooth.
4. Add the eggs one at a time, mixing only until just incorporated after each addition. Do not overmix once the eggs are in, as this adds too much air, which causes cracking.
Step 4: The Gentle Bake (Water Bath Time!)
1. Pour the filling over the slightly cooled crust.
2. Place the foil-wrapped springform pan inside a larger baking pan (like a roasting pan).
3. Carefully pour about 1 inch of hot water into the larger pan to create the water bath.
4. Bake for 60 to 70 minutes. The edges should look set, but the center 2 inches should still have a slight jiggle when gently nudged.
5. Turn off the oven, crack the door open slightly, and let the cheesecake sit in the cooling oven for 1 hour. This slow cooling prevents major temperature shock.
6. Remove the cheesecake from the water bath, remove the foil, and let it cool completely on a wire rack before chilling in the refrigerator for at least 6 hours.
Step 5: The Delicious Peach Topping
1. About 30 minutes before you plan to serve the cheesecake, prepare the topping.
2. In a medium skillet, melt the 2 tablespoons of butter over medium heat.
3. Add the sliced peaches, brown sugar, lemon juice, and cinnamon (if using).
4. Cook, stirring gently, for about 5-7 minutes, until the sugar has dissolved and the peaches are softened and slightly caramelized. Let this mixture cool down slightly before spooning it over the chilled cheesecake.
Serving Suggestions
This cheesecake is rich and satisfying, so a little goes a long way!
- Serve chilled, straight from the fridge.
- A light dollop of fresh whipped cream on top of the peach slices adds extra elegance.
- A sprinkle of toasted slivered almonds around the edge looks gorgeous.
Tips for Customization & Variations
Love experimenting? Try these tweaks:
- Crust Swap: Use vanilla wafer crumbs or shortbread cookies instead of graham crackers for a different base flavor.
- Spice It Up: Add ½ teaspoon of ground cardamom or ginger to the cream cheese filling for a warm, unexpected twist.
- Boozy Peaches: Add 1 tablespoon of bourbon or dark rum to the peach topping mixture while it simmers for a deeper, more complex flavor.
Nutritional Information (Estimated)
Note: This is a general estimate based on standard ingredients and a 12-slice serving size. Exact counts will vary.
Calories: Approximately 450-550 per slice
Fat: High (due to cream cheese)
Sugar: Moderate to High
Frequently Asked Questions (FAQs)
Q: Why is my cheesecake cracking on top?
A: Usually, cracking is caused by over-baking or a sudden temperature change. Ensure you use the water bath, don’t overmix the eggs, and always allow the cheesecake to cool slowly inside the turned-off oven.
Q: Can I use canned peaches instead of fresh?
A: Yes, you can! If using canned peaches, drain them very well first. Skip the cooking step; simply toss the drained peaches with the brown sugar and lemon juice and spoon them over the chilled cheesecake for a fresher, less cooked texture.
Q: How long does leftover peach cheesecake last?
A: Stored properly in an airtight container in the refrigerator, it will stay fresh and delicious for up to 5 days.
Happy baking, everyone! I hope this Peach Cheesecake brings as much joy to your kitchen as it brought to mine! Let me know in the comments how yours turned out!