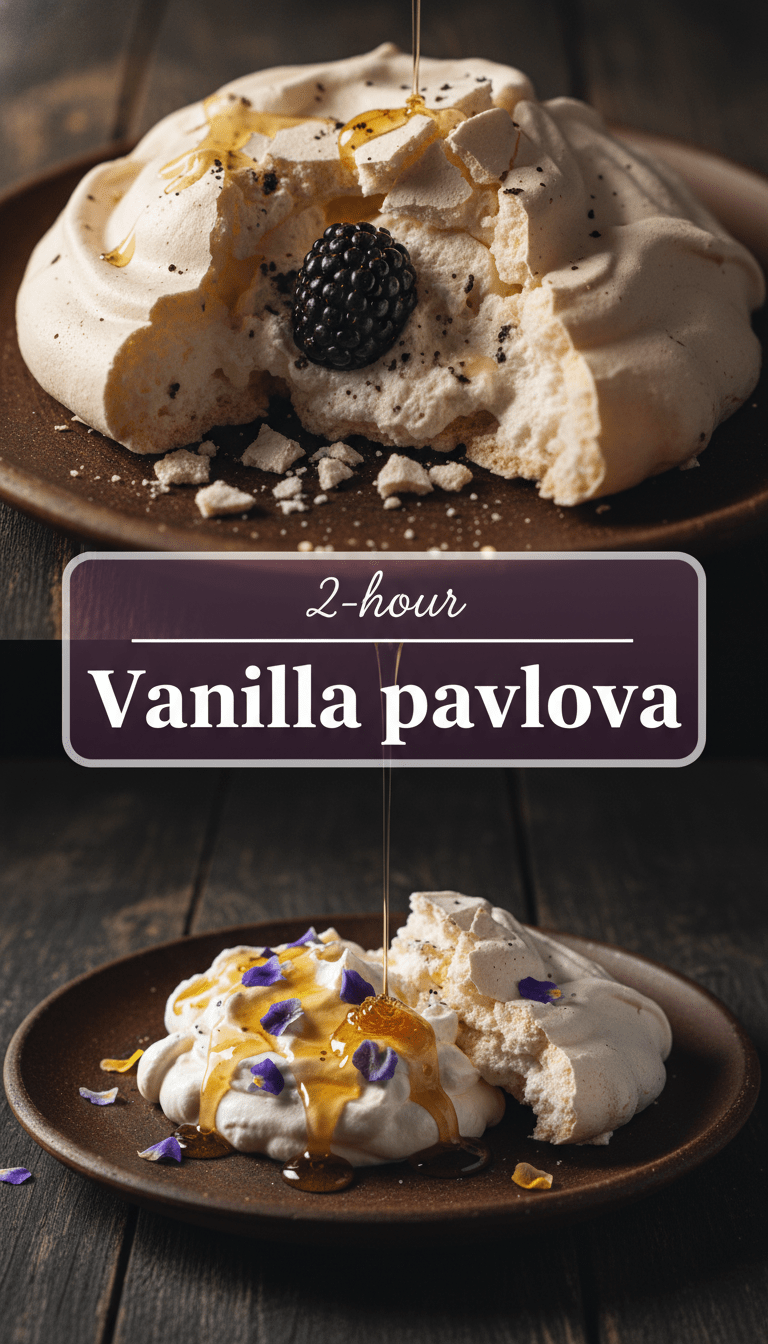
Hello, dessert lovers! Are you ready to create something truly spectacular with minimal effort? Today, we’re diving into the world of the Vanilla Pavlova. This isn’t just any meringue; it’s a crisp, snowy-white shell that gives way to a marshmallowy, chewy center, all kissed with the warm, comforting scent of pure vanilla. Trust me, once you master this, you’ll be the dessert hero at every gathering!
Quick Facts
Let’s get down to the nitty-gritty so you can plan your baking schedule!
Prep time: 25 minutes
Cooking time: 1 hour 15 minutes (plus cooling time)
Total time: Approximately 2 hours (active time minimal)
Serving size: 8 generous slices
Why You’ll Love This Recipe
If you’re looking for a showstopper that’s naturally gluten-free, you’ve hit the jackpot!
1. Textural Heaven: That perfect contrast between the crunchy exterior and the soft, gooey interior is addictive.
2. Elegant Simplicity: It looks incredibly fancy, but honestly, it relies on just a few pantry staples and patience.
3. Vanilla Power: We use high-quality vanilla extract to give this classic dessert its signature, comforting flavor.
What You’ll Need: The Ingredient List
Gather your troops! Make sure your egg whites are at room temperature—that’s key to maximum volume.
For the Pavlova Base:
- 4 large egg whites (room temperature is crucial!)
- 1 cup superfine (caster) sugar
- 1 teaspoon white vinegar or lemon juice
- 1 teaspoon cornstarch (cornflour)
- 1 teaspoon pure vanilla extract
For the Topping (Classic Style):
- 1 ½ cups heavy whipping cream (cold)
- 2 tablespoons powdered (icing) sugar
- Fresh seasonal berries (strawberries, raspberries, blueberries)
- A dusting of confectioners’ sugar (optional)
Step-by-Step Instructions: Crafting Your Cloud
Follow these steps precisely, especially regarding the mixing speed and oven temperature adjustments—they make all the difference!
Step 1: Prepare the Stage
Preheat your oven to 300°F (150°C). Line a baking sheet with parchment paper. Using a pencil (on the underside of the paper!), draw a large circle about 8 inches across. This gives you a guide for shaping your pavlova.
Step 2: The Meringue Magic
In a very clean, grease-free bowl (glass or metal works best), start whisking your room-temperature egg whites using an electric mixer on medium speed. Whisk until they form soft peaks—this means when you lift the whisk, the peaks flop over gently.
Step 3: Sweetening the Deal
Start adding the superfine sugar, one tablespoon at a time, whisking continuously after each addition. This slow process allows the sugar to dissolve properly. Once all the sugar is added, increase the speed to high and beat until you achieve stiff, glossy peaks. When you rub a small amount between your fingers, you shouldn’t feel any grittiness.
Step 4: The Stabilizers
Gently fold in the vinegar (or lemon juice), cornstarch, and vanilla extract using a rubber spatula. Fold carefully—you want to incorporate them without deflating all that beautiful air you just whipped in!
Step 5: Shaping and Baking
Spoon the meringue mixture onto the parchment paper, using your drawn circle as a guide. Shape it into a nest, making the edges slightly higher than the center.
Crucial Step: Place the pavlova in the preheated oven. Immediately reduce the temperature down to 250°F (120°C). Bake for 1 hour and 15 minutes. The outside should be crisp and dry.
Step 6: The Cool Down (Patience is a Virtue!)
Turn the oven off. Prop the oven door slightly ajar with a wooden spoon and let the pavlova cool completely inside the oven for at least 2 hours, or ideally, overnight. This slow cooling prevents the meringue from cracking severely due to a sudden temperature change.
Step 7: The Grand Finale
Just before serving, whip the cold heavy cream and powdered sugar until soft peaks form. Gently spoon the cream onto the cooled pavlova shell. Decorate generously with your fresh berries. Enjoy immediately!
Serving Suggestions: Beyond the Basics
While the classic cream and berry topping is unbeatable, don’t be afraid to experiment!
- Tropical Twist: Top with passion fruit pulp, sliced kiwi, and toasted coconut flakes.
- Chocolate Lover: Add a drizzle of melted dark chocolate over the cream before adding berries.
- Lemon Curd Dream: Spread a thin layer of tangy lemon curd over the meringue before adding the whipped cream.
Tips for Customization & Variations
- Flavor Infusion: Add a pinch of salt to the egg whites for better flavor balance, or try adding a drop of almond extract instead of vanilla.
- Meringue Color: For a special occasion, you can gently fold in a tiny drop of pink or blue food coloring right at the end.
- Make Ahead: You can bake the meringue shell up to 2 days ahead of time. Store it in an airtight container at room temperature. Do not top it until just before serving, or the moisture will make it soggy!
Estimated Nutritional Information
Please note: This is a very rough estimate based on standard ingredients and does not account for toppings.
This dessert is primarily sugar and protein. A single serving (1/8th of the base) is approximately 200 calories before toppings.
Frequently Asked Questions (FAQs) About Pavlova
Q1: Why did my pavlova crack so much?
A: Cracking is normal! Large cracks usually happen because the temperature dropped too quickly when cooling. Always cool it slowly inside the turned-off oven.
Q2: Can I make this without superfine sugar?
A: You can, but it’s trickier. If using regular granulated sugar, you must whisk it longer and perhaps a bit slower in the beginning to ensure every crystal dissolves. Undissolved sugar leads to a grainy, weeping meringue.
Q3: How do I store leftover pavlova?
A: If it’s already topped with cream and fruit, it must be stored in the refrigerator and consumed within 4 hours, as the meringue will absorb moisture quickly. Un-topped shells store well at room temperature for days.
Q4: What is the difference between Pavlova and Meringue?
A: Pavlova is a specific type of meringue that is deliberately baked to have a crisp outer shell and a soft, marshmallowy interior. Standard meringues (like those used for kisses or pie toppings) are usually baked until completely dry and crisp throughout.
Happy baking, everyone! Enjoy this taste of airy perfection!