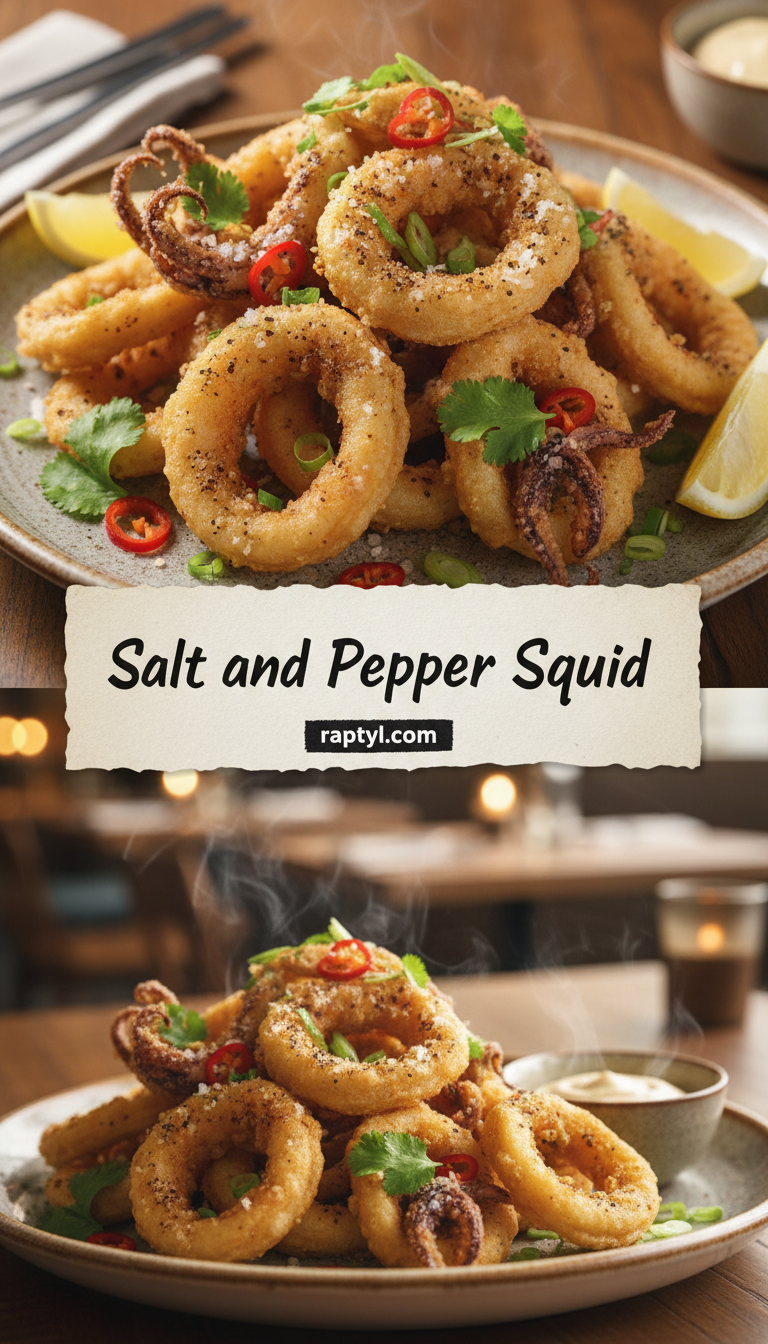
Hello, food lovers! Are you ready to unlock the secret to restaurant-quality calamari right in your own kitchen? Today, we are diving headfirst into one of my all-time favorite appetizers (or main courses, let’s be honest): Salt and Pepper Squid. Forget those soggy, bland versions. This recipe delivers ultra-crispy tentacles and rings coated in a fragrant, fiery blend of salt, white pepper, and aromatics. It’s addictive, simple, and guaranteed to impress!
Quick Facts
Here’s what you need to know before we start mixing:
Prep time: 20 minutes
Cooking time: 8 minutes
Total time: 28 minutes
Serving size: 4 as an appetizer
Why You’ll Love This Recipe
This isn’t just fried squid; it’s an experience!
- Unbelievably Crispy: We use a light dredge that puffs up beautifully, creating the perfect crunch that lasts.
- Bold Flavor: The signature salt and pepper seasoning is balanced with garlic, ginger, and a little kick of chili.
- Fast Fix: From prep to plate, this takes less than half an hour—perfect for last-minute cravings!
- Budget-Friendly: It feels gourmet but uses simple, accessible ingredients.
Ingredients You’ll Need
Gathering your supplies is the first step to success! Here’s what you need for the best Salt and Pepper Squid:
For the Squid:
- 1 lb (about 450g) fresh or frozen (thawed) squid, cleaned, bodies sliced into rings, and tentacles kept whole
- 1/2 cup all-purpose flour
- 1/4 cup cornstarch (this is key for crispiness!)
- 1/2 teaspoon salt
- 1/4 teaspoon baking powder
- Vegetable or peanut oil, for deep frying
For the Seasoning & Aromatics:
- 2 tablespoons finely minced garlic
- 1 tablespoon finely minced fresh ginger
- 1/2 teaspoon freshly ground white pepper (essential for the traditional flavor)
- 1 teaspoon coarse sea salt (or to taste)
- 1 small red chili, thinly sliced (seeds removed for less heat, optional)
- 2 scallions (green onions), thinly sliced, for garnish
Step-by-Step Cooking Magic
Let’s get cooking! Follow these steps closely for that perfect texture.
Step 1: Prep the Squid
First things first, make sure your squid is completely dry. Pat it down thoroughly with paper towels. Excess moisture leads to soggy squid! In a medium bowl, combine the flour, cornstarch, salt, and baking powder. Give it a good whisk.
Step 2: The Crispy Coating
Toss the dried squid rings and tentacles into the dry flour mixture. Make sure everything is lightly and evenly coated. Shake off any excess coating—too much flour will absorb too much oil. Set the coated squid aside.
Step 3: Frying Time!
Pour about 2 inches of oil into a heavy-bottomed pot or deep fryer. Heat the oil to 350°F (175°C). If you don’t have a thermometer, drop a tiny pinch of coating in; if it sizzles immediately and floats to the top, you’re ready.
Carefully add the squid to the hot oil in batches. Do not overcrowd the pot, or the oil temperature will drop, resulting in greasy squid. Fry for about 2 to 3 minutes until they are lightly golden and crispy. Use a spider or slotted spoon to remove them and place them on a wire rack lined with paper towels to drain.
Step 4: The Flavor Burst (The Wok Toss)
This is where the magic happens! Heat a wok or a large skillet over medium-high heat. Add just 1 tablespoon of fresh oil. Once shimmering, toss in the minced garlic and ginger. Stir-fry rapidly for about 30 seconds until fragrant—do not let the garlic burn!
Add the sliced chili (if using) and stir for another 10 seconds.
Step 5: Final Seasoning
Turn the heat down slightly. Immediately add the crispy, drained squid back into the wok. Sprinkle generously with the white pepper and coarse sea salt. Toss everything together quickly—about 30 seconds—just long enough for the seasoning to adhere to the hot, crispy coating.
Remove immediately from the heat and transfer to your serving platter. Garnish heavily with the sliced scallions. Serve hot!
Serving Suggestions
This dish shines brightest when served immediately.
- Classic Pairing: A side of sweet chili dipping sauce or a simple squeeze of fresh lime juice.
- For a Meal: Serve alongside steamed jasmine rice and a crisp cucumber salad.
- Drink Pairing: A cold, crisp lager or a dry Sauvignon Blanc cuts through the richness beautifully.
Customization Corner
Want to make it your own? Try these tweaks:
- Spicier Kick: Add a pinch of Sichuan peppercorns to the final seasoning toss for that signature numbing tingle.
- Herbaceous Lift: Toss in a handful of fresh cilantro leaves along with the scallions at the very end.
- Onion Rings: Feel free to use thinly sliced onions mixed in with the squid for extra crunch! Make sure to coat the onions well.
Estimated Nutritional Information (Per Serving)
Please note: This is a rough estimate and highly dependent on oil absorption and portion size.
Calories: 350-400
Protein: 25g
Fat: 20g
Carbohydrates: 18g
Frequently Asked Questions (FAQs)
Q1: Can I cook this in an Air Fryer?
A1: Yes, you absolutely can! After coating, spray the squid lightly with cooking spray. Air fry at 380°F (195°C) for about 8-10 minutes, shaking halfway through. You will need to toss the cooked squid with the sautéed aromatics afterward, as you can’t easily wok-toss in the air fryer basket.
Q2: Why is my squid chewy instead of tender?
A2: Overcooking is the culprit! Squid cooks incredibly fast. Once it curls up and turns opaque (about 2-3 minutes), it’s done. If you cook it longer than 5 minutes, it tightens up and becomes tough. Keep your oil hot!
Q3: What is the difference between black and white pepper here?
A3: Traditional Salt and Pepper Squid uses white pepper. White pepper has a slightly earthier, hotter flavor profile compared to the brighter spice of black pepper, which really complements the seafood. I highly recommend sticking to white pepper if you can find it!
Enjoy making this absolutely stunning, crunchy appetizer. Happy cooking, everyone!