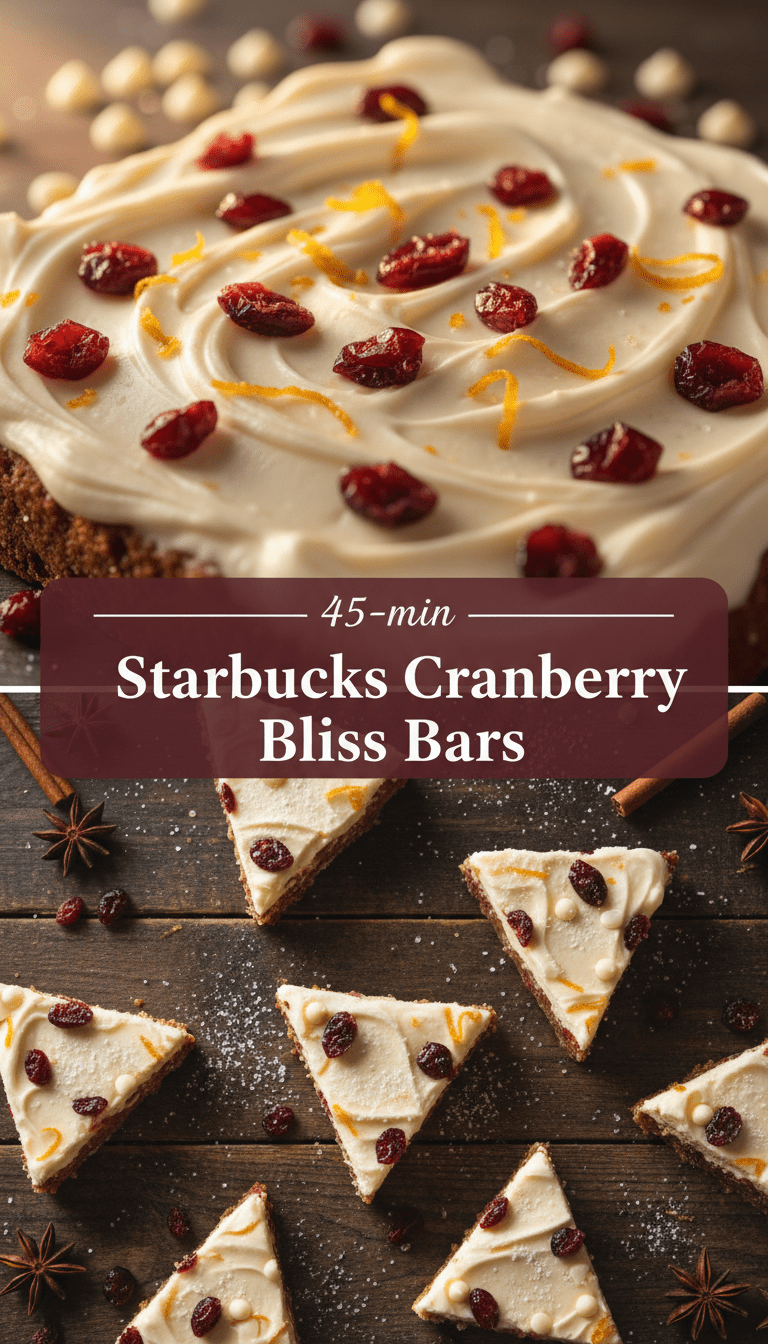
Hello, fellow dessert lovers! Is there anything that screams “Holidays are here!” louder than that bright red and white square from your favorite coffee shop? I’m talking about the legendary Starbucks Cranberry Bliss Bars!
If you’ve been dreaming of that perfectly chewy blondie base, the zing of dried cranberries, and that sweet, creamy, orange-infused white chocolate frosting, then you are in the right place. Forget waiting in those long seasonal lines—today, we are making a batch that tastes even better (and you can eat them all day long!). Trust me, this recipe is shockingly easy.
Quick Facts
Here’s a snapshot of how quickly you can get these beauties on your counter:
Prep time: 25 minutes
Baking time: 25–30 minutes
Total time: About 1 hour 30 minutes (including chill time)
Serving size: 16 squares
Why You’ll Love This Recipe
These homemade bars hit all the right notes:
- Perfect Texture: They are wonderfully dense, moist, and chewy—the ideal blondie base.
- Authentic Flavor: We nail that signature hint of orange zest in the frosting that Starbucks is famous for.
- Make-Ahead Magic: They actually taste better the next day once the flavors have really married!
- Crowd-Pleaser: They disappear instantly at any holiday gathering.
Ingredients You’ll Need
We’ve broken this down into three easy parts: The Blondie Base, The Orange Glaze, and The Topping.
For the Chewy Blondie Base:
- 1 cup (2 sticks) unsalted butter, melted
- 1 ½ cups packed light brown sugar
- 2 large eggs
- 1 tablespoon vanilla extract
- Zest of 1 small orange (optional, but recommended!)
- 2 cups all-purpose flour
- 1 teaspoon baking powder
- ½ teaspoon salt
- 1 cup dried cranberries (the sweet kind, not too tart)
For the Creamy Orange Glaze:
- 8 ounces (1 package) cream cheese, softened
- ½ cup (1 stick) unsalted butter, softened
- 4 cups powdered sugar, sifted
- 2–3 tablespoons fresh orange juice (or milk)
- 1 teaspoon vanilla extract
- Zest of ½ orange
For the Festive Topping:
- 4 ounces white chocolate, finely chopped or white chocolate chips
- ¼ cup dried cranberries, roughly chopped
- ¼ cup finely chopped pistachios (optional, for color and crunch)
Step-by-Step Instructions
Let’s get baking! Preheat your oven to 350°F (175°C). Line a 9×13 inch baking pan with parchment paper, leaving an overhang on the long sides—this acts as a sling later!
H3: Making the Chewy Base
1. Mix Wet Ingredients: In a large bowl, whisk together the melted butter and brown sugar until completely combined and smooth.
2. Add Eggs and Flavor: Whisk in the eggs one at a time, ensuring they are fully incorporated. Stir in the vanilla extract and the orange zest.
3. Combine Dry Ingredients: In a separate medium bowl, whisk together the flour, baking powder, and salt.
4. Bring it Together: Gradually add the dry ingredients to the wet ingredients, mixing only until just combined. Do not overmix!
5. Fold in Cranberries: Gently fold in the 1 cup of dried cranberries.
6. Bake: Spread the batter evenly into your prepared pan. Bake for 25 to 30 minutes, or until the edges are set and a toothpick inserted near the center comes out with moist crumbs attached (not wet batter).
7. Cool Completely: Let the bars cool in the pan on a wire rack until they reach room temperature—this is crucial before glazing!
H3: Whipping up the Orange Glaze
1. Cream Butter and Cheese: In a stand mixer or using a hand mixer, beat the softened cream cheese and butter together until light and fluffy (about 2 minutes).
2. Add Flavor: Beat in the orange zest and vanilla extract.
3. Sweeten It Up: Gradually add the sifted powdered sugar, alternating with the orange juice/milk, until you reach a smooth, spreadable consistency. You may need a little more or less liquid depending on your humidity.
H3: Assembling and Decorating
1. Glaze: Once the bars are completely cool, spread the thick orange glaze evenly over the top using an offset spatula.
2. Melt Chocolate: Place the white chocolate in a microwave-safe bowl. Microwave in 30-second intervals, stirring well between each, until smooth.
3. Drizzle: Drizzle the melted white chocolate back and forth across the top of the glazed bars.
4. Sprinkle: Immediately sprinkle the chopped cranberries and pistachios (if using) over the wet white chocolate layer.
5. Set: Place the pan in the refrigerator for at least 1 hour to allow the glaze and chocolate to set firmly.
6. Slice: Use the parchment paper sling to lift the entire block out of the pan. Use a large, sharp knife to cut into 16 even squares.
Serving Suggestions
These bars are rich and flavorful all on their own, but here are a few ways to enjoy them:
- Serve slightly chilled for a firmer texture.
- Pair with a hot cup of coffee or, even better, a peppermint tea latte!
- Dust the tops lightly with powdered sugar just before serving for an extra snowy look.
Tips for Customization & Variations
Want to make these bars your signature holiday treat? Try these swaps:
- Spice It Up: Add ½ teaspoon of ground cinnamon and a pinch of nutmeg to the blondie batter for a warmer flavor profile.
- Citrus Swap: If you don’t love orange, substitute the orange zest and juice in the glaze with lemon or even almond extract.
- Fruity Fun: Replace half the dried cranberries with dried cherries for a beautiful deep red color contrast.
Estimated Nutritional Information
Please note: This is a loose estimation based on standard ingredient measurements and will vary based on exact product brands used.
Per Serving (1 square): Approximately 350-400 Calories, 18g Fat, 50g Carbohydrates, 3g Protein.
Frequently Asked Questions (FAQs)
Q1: Can I make these ahead of time?
A: Absolutely! Cranberry Bliss Bars actually improve after a day or two in the fridge as the orange flavor deepens. Store them in an airtight container in the refrigerator for up to five days.
Q2: My blondie base is cakey, not chewy. What went wrong?
A: This usually happens if you used too much flour or overworked the batter. Make sure you measure your flour by spooning it lightly into the measuring cup and leveling it off. Also, ensure you are using brown sugar, as the molasses content helps keep blondies moist and chewy!
Q3: Can I freeze these bars?
A: Yes! It’s best to freeze them before you add the final glaze and toppings. Wrap individual cooled bars tightly in plastic wrap, then place them in a freezer-safe bag. Thaw overnight in the refrigerator before glazing and decorating.
Enjoy making your own famous holiday treat! Happy baking!