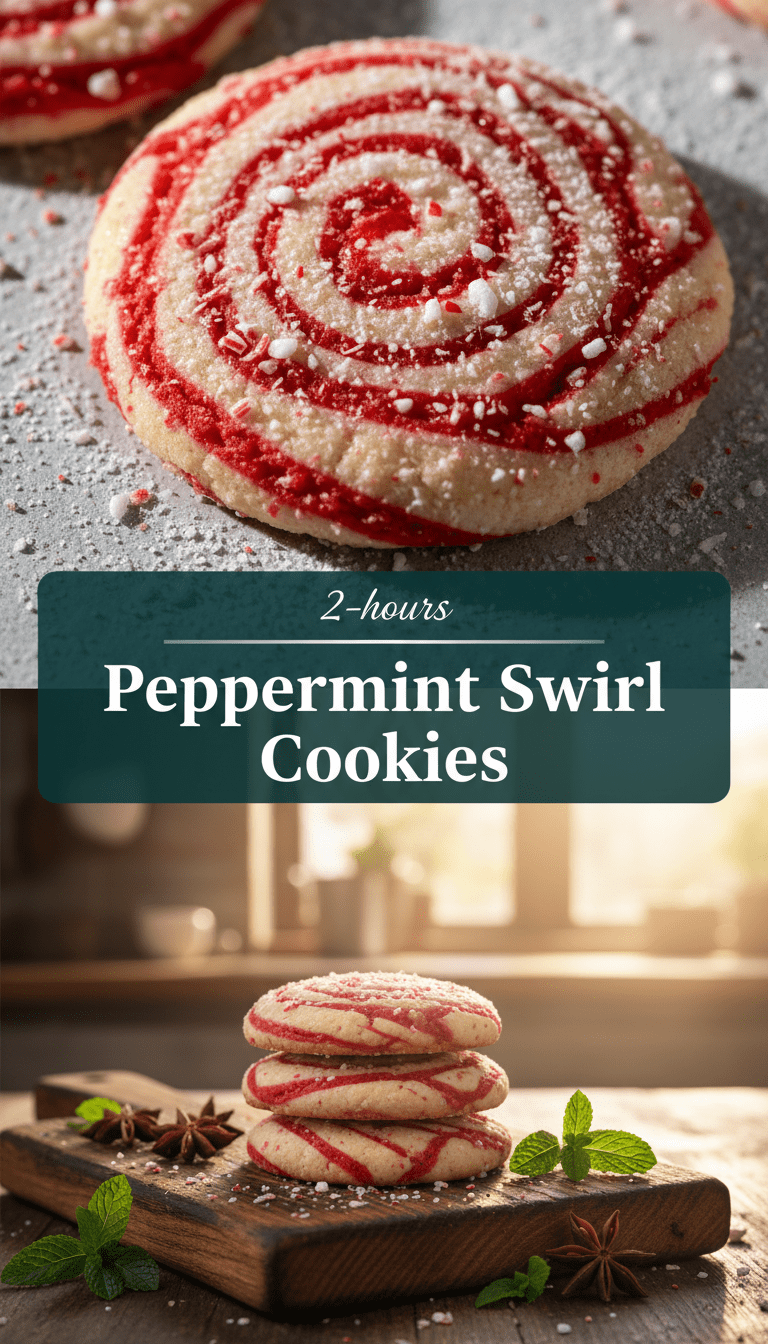
Hey everyone, and welcome back to my kitchen! If you’re anything like me, the moment the air gets crisp, my mind immediately jumps to festive baking. Today, we are diving headfirst into a classic with a beautiful, eye-catching twist: Peppermint Swirl Cookies!
These aren’t just any sugar cookies; they’re soft, buttery, and feature those gorgeous, dramatic red and white spirals that look incredibly impressive but are surprisingly easy to make. Trust me, these cookies will vanish as soon as they hit your holiday platter. Let’s get swirling!
Quick Facts About Our Swirly Beauties
Here’s everything you need to know before you tie on your apron:
Prep time: 30 minutes (plus 30 minutes chilling)
Cooking time: 9-11 minutes
Total time: About 1 hour 10 minutes
Serving size: Approximately 2 dozen cookies
Why You’ll Love This Recipe
Forget flat, boring cookies! These Peppermint Swirl Cookies are:
- Visually Stunning: That red and white contrast is pure holiday magic.
- Perfectly Soft: They have that ideal balance of a slightly crisp edge and a tender center.
- Minty Fresh: The peppermint extract gives them a clean, refreshing flavor that pairs perfectly with rich butter.
- Slice-and-Bake Friendly: Prep them ahead of time and bake when guests arrive!
Ingredients You’ll Need
We need two simple batches of cookie dough—one plain vanilla and one vibrant peppermint red.
For the Vanilla Dough:
- 1 cup (2 sticks) unsalted butter, softened
- 1 ½ cups granulated sugar
- 2 large eggs
- 1 teaspoon vanilla extract
- 3 ½ cups all-purpose flour
- 1 teaspoon baking powder
- ½ teaspoon salt
For the Peppermint Dough:
- All ingredients listed above for the Vanilla Dough
- 1 teaspoon peppermint extract (use sparingly, it’s potent!)
- Red gel food coloring (liquid coloring can sometimes make the dough sticky, so gel is best!)
Step-by-Step Instructions: Creating the Magic Swirl
This recipe hinges on mixing two doughs together before chilling and slicing. Don’t worry, it’s easier than it sounds!
Step 1: Make the Base Dough
1. In a large bowl, cream together the softened butter and sugar until light and fluffy (about 3 minutes with a mixer).
2. Beat in the eggs one at a time, ensuring each is fully incorporated before adding the next. Stir in the vanilla extract.
3. In a separate bowl, whisk together the flour, baking powder, and salt.
4. Gradually add the dry ingredients to the wet ingredients, mixing on low speed until just combined. Don’t overmix!
Step 2: Splitting and Coloring
1. Divide the dough evenly into two separate bowls.
2. Vanilla Dough: To the first bowl, add nothing else. Wrap it tightly in plastic wrap and set aside.
3. Peppermint Dough: To the second bowl, add the peppermint extract and several drops of red gel food coloring. Mix until the dough is uniformly bright red and smells minty. Wrap this dough tightly as well.
4. Chill Time: Place both dough balls into the refrigerator and chill for at least 30 minutes. This makes them much easier to handle!
Step 3: Forming the Log
1. Once chilled, place a large sheet of parchment paper on your counter.
2. Take the white vanilla dough and roll it out gently into a rough rectangle, about ½ inch thick.
3. Take the red peppermint dough and roll it out into a rectangle of the exact same size as the white dough.
4. Carefully place the red dough rectangle directly on top of the white dough rectangle. Smooth out any bumps.
5. Starting from one long edge, tightly roll the two layers together, just like you would roll up a jelly roll or a rug. Make sure the roll is firm and even.
6. Wrap the resulting log tightly in plastic wrap and refrigerate for at least 1 hour (or up to 2 days!). This step is crucial for clean slices!
Step 4: Baking Bliss
1. Preheat your oven to 375°F (190°C). Line two baking sheets with parchment paper.
2. Remove the chilled log from the fridge. Using a sharp knife, slice the log into rounds about ¼ inch thick.
3. Place the slices about 2 inches apart on the prepared baking sheets.
4. Bake for 9 to 11 minutes, or until the edges are just starting to turn light golden brown. The centers should still look slightly soft.
5. Let the cookies cool on the baking sheet for 5 minutes before carefully transferring them to a wire rack to cool completely. Watch as those beautiful swirls set!
Serving Suggestions
These cookies are stunning all on their own, but you can always elevate them!
- Dipped Delight: Dip half of the cooled cookie into melted white chocolate, then sprinkle with crushed candy canes for extra crunch and flavor.
- Frosting Fun: Use a simple vanilla glaze made with powdered sugar, a splash of milk, and a tiny drop of peppermint extract to drizzle over the tops.
- Hot Chocolate Companion: They are the perfect cookie to dunk into a steaming mug of hot cocoa!
Tips for Customization and Variations
Want to mix things up? Here are a few easy tweaks:
- Chocolate Mint Swirl: Add 2 tablespoons of unsweetened cocoa powder to the vanilla dough before splitting, and leave the other half plain. Then, skip the red coloring and use the chocolate dough as your second color!
- Extra Crunch: Mix ¼ cup of mini chocolate chips into the white dough for a surprise texture.
- Softer Chill: If your dough is too hard to slice after chilling, let it sit at room temperature for 5-10 minutes to soften just slightly.
Estimated Nutritional Information
Please remember these are estimates and can vary based on exact ingredient measurements.
Per Cookie (based on 24 cookies): Approximately 140-160 calories, 7g fat, 20g carbohydrates, less than 1g protein.
Frequently Asked Questions (FAQs)
Q: Can I use liquid peppermint extract instead of gel coloring?
A: Yes, but be very cautious! Liquid extract adds moisture. If you use liquid food coloring, you might need to add an extra tablespoon of flour to the red dough to keep it from being too sticky. Gel coloring is my preferred choice for vibrant color without altering the texture.
Q: Why did my swirls turn muddy instead of crisp?
A: There are two main reasons for this: 1) You didn’t chill the dough log long enough, so the dough softened while slicing, causing the colors to bleed. 2) You overmixed the doughs when trying to combine them before rolling. Make sure your dough is firm when slicing!
Q: How long can I store these cookies?
A: Once baked and cooled, these cookies store wonderfully in an airtight container at room temperature for up to one week. For longer storage, you can freeze the unbaked logs for up to 3 months! Just slice and bake straight from frozen, adding a minute or two to the baking time.
Happy baking, friends! Let me know in the comments when you try these stunning Peppermint Swirl Cookies!