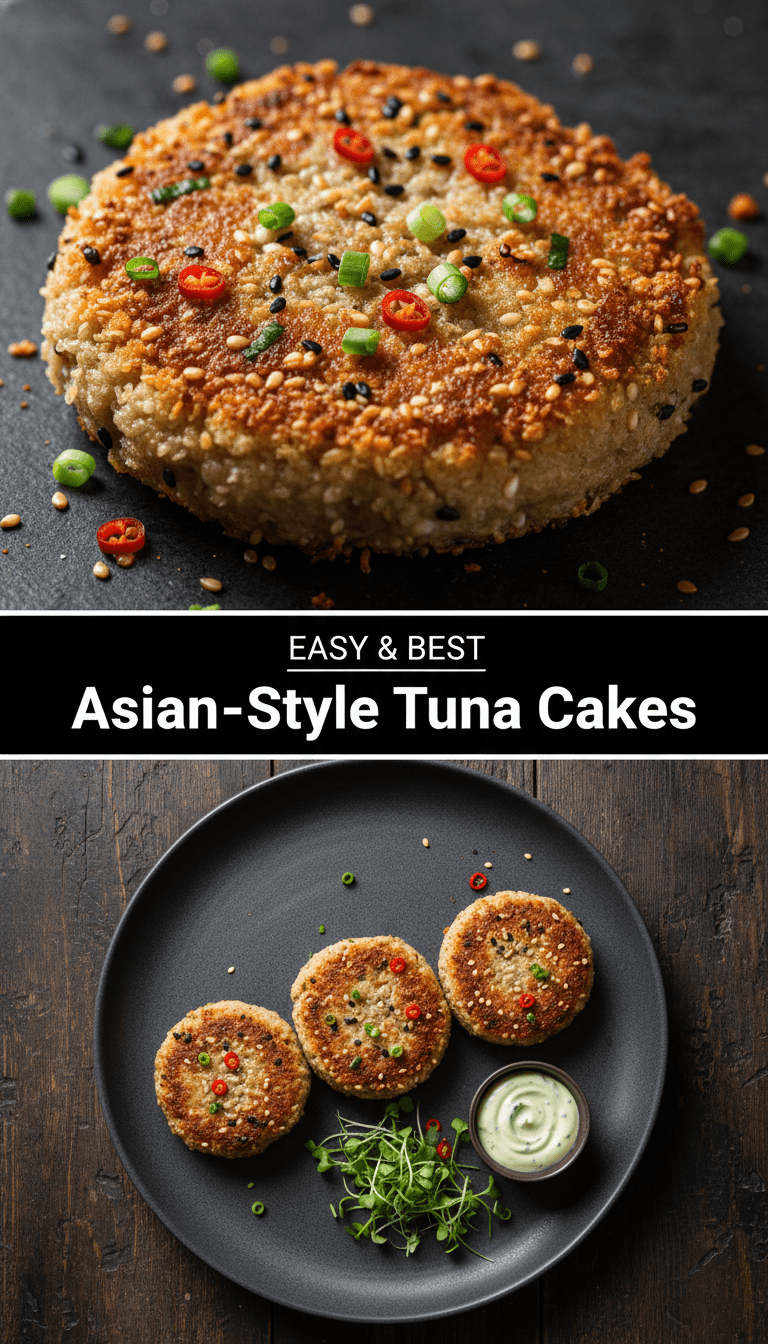
Hey everyone, and welcome back to my kitchen! Today, we are taking that trusty can of tuna and giving it a seriously delicious makeover. Forget dry, boring tuna melts—we’re diving headfirst into vibrant, savory, and slightly zesty Asian‑Style Tuna Cakes.
These little flavor bombs are packed with fresh ginger, bright scallions, a hint of sesame, and they bake up beautifully crispy on the outside and tender on the inside. They’re quick, they’re easy, and they taste like you spent hours in the kitchen. Trust me, this recipe is going to be a permanent fixture in your rotation!
Quick Facts
Prep time: 15 minutes
Cooking time: 12-15 minutes
Total time: About 30 minutes
Serving size: Makes approximately 8 small cakes (serves 2-3 people)
Why You’ll Love This Recipe
Why reinvent the wheel when you can simply jazz it up? Here’s why these Asian‑Style Tuna Cakes are instant winners:
- Speedy Solution: Done in under 30 minutes, perfect for those chaotic weeknights.
- Flavor Fiesta: The combination of soy sauce, ginger, and sesame oil delivers an authentic, exciting taste profile.
- Healthy-ish: They are surprisingly light, especially if you opt for baking over deep frying.
- Kid-Approved (Usually!): They’re easy to eat and generally well-liked, making mealtime less of a battle.
Ingredients You’ll Need
Gather your essentials! You likely have most of these pantry staples already.
- One 5-ounce can of tuna packed in water or oil, thoroughly drained
- 1 large egg, lightly beaten
- 1/4 cup panko breadcrumbs (plus extra for coating, if desired)
- 2 tablespoons finely chopped fresh scallions (green parts only)
- 1 tablespoon finely minced fresh ginger
- 1 teaspoon toasted sesame oil
- 1 teaspoon soy sauce (or tamari for gluten-free)
- 1/2 teaspoon Sriracha or chili garlic sauce (optional, for a little kick)
- 1 tablespoon all-purpose flour (or cornstarch for binding)
- 1 tablespoon neutral cooking oil (like canola or avocado) for pan-frying
Step-by-Step Cooking Magic
Let’s get these flavor bombs formed!
Step 1: Prep the Tuna Mixture
In a medium bowl, use a fork to flake the drained tuna until it’s finely broken up. Add the beaten egg, panko breadcrumbs, chopped scallions, minced ginger, sesame oil, soy sauce, and Sriracha (if using). Gently mix everything together until just combined. Be careful not to overmix, or the cakes can become tough.
Step 2: Form the Cakes
Dust your hands lightly with a little extra flour or water. Scoop about 2 tablespoons of the mixture and gently form it into small, uniform patties, about 1 inch thick. If the mixture seems too wet to hold its shape, add another tablespoon of panko.
Pro Tip: If you want an extra crispy exterior, lightly dredge each patty in extra panko breadcrumbs before cooking.
Step 3: Cook to Golden Perfection
Heat the neutral cooking oil in a large non-stick skillet over medium heat. Once the oil shimmers slightly, carefully place the tuna cakes into the pan, ensuring you don’t overcrowd them (work in batches if necessary).
Step 4: Sear and Flip
Cook for about 5 to 6 minutes on the first side until they are beautifully golden brown and crispy. Gently flip the cakes using a thin spatula and cook for another 5 to 6 minutes on the second side until cooked through and firm to the touch.
Step 5: Serve Hot!
Remove the cakes from the skillet and place them on a paper towel-lined plate to drain any excess oil. Serve immediately!
Serving Suggestions: Take it Up a Notch!
These cakes are versatile, but they shine brightest with some bright, zesty accompaniments:
- Spicy Mayo Dip: Mix 3 tablespoons of mayonnaise with 1 teaspoon of Sriracha and a squeeze of lime juice.
- Quick Slaw: Toss shredded cabbage with rice vinegar, a tiny bit of sugar, and sesame seeds.
- Over Rice: Serve them atop a bowl of fluffy steamed jasmine rice for a fuller meal.
- Lettuce Wraps: Place a tuna cake inside crisp butter lettuce cups with a drizzle of peanut sauce.
Customization and Variations
Don’t be afraid to experiment! This recipe is very forgiving.
- Herb Swap: Try adding fresh cilantro instead of—or alongside—the scallions for an extra layer of freshness.
- Add Veggies: Finely grate a small carrot or add 1 tablespoon of finely chopped water chestnuts for a satisfying crunch.
- Spice Level: If you love heat, substitute the Sriracha with finely minced jalapeño (seeds removed).
- Air Fryer Method: For less oil, lightly spray the cakes with cooking spray and air fry at 375°F (190°C) for about 10-12 minutes, flipping halfway through.
Estimated Nutritional Information (Per Cake, based on 8 servings)
Please remember these are estimates and will vary based on the type of tuna and oil used:
Calories: Approximately 110-130
Protein: 9g
Fat: 6g
Carbohydrates: 5g
Frequently Asked Questions (FAQs)
Q: Can I make these ahead of time?
A: Yes! You can mix the tuna batter and form the patties up to 24 hours in advance. Store the formed patties layered between parchment paper in an airtight container in the refrigerator. If you do this, you might need an extra minute or two when cooking.
Q: Can I use canned salmon instead of tuna?
A: Absolutely! Canned salmon works wonderfully in this recipe and offers a slightly richer flavor. Adjust the seasoning slightly if needed.
Q: Why are my tuna cakes falling apart during cooking?
A: This usually means one of two things: either you didn’t drain the tuna well enough, or you are missing a binder. Make sure your egg is fully incorporated, and if necessary, add one extra teaspoon of panko or flour to firm up the mixture before shaping.
Q: Can I bake these instead of pan-frying?
A: You certainly can! Preheat your oven to 400°F (200°C). Place the formed cakes on a baking sheet lined with parchment paper (lightly spray the tops with cooking spray). Bake for 14-16 minutes, flipping halfway through, until golden brown.
Enjoy making these vibrant and easy Asian‑Style Tuna Cakes! Let me know in the comments how yours turned out! Happy cooking!