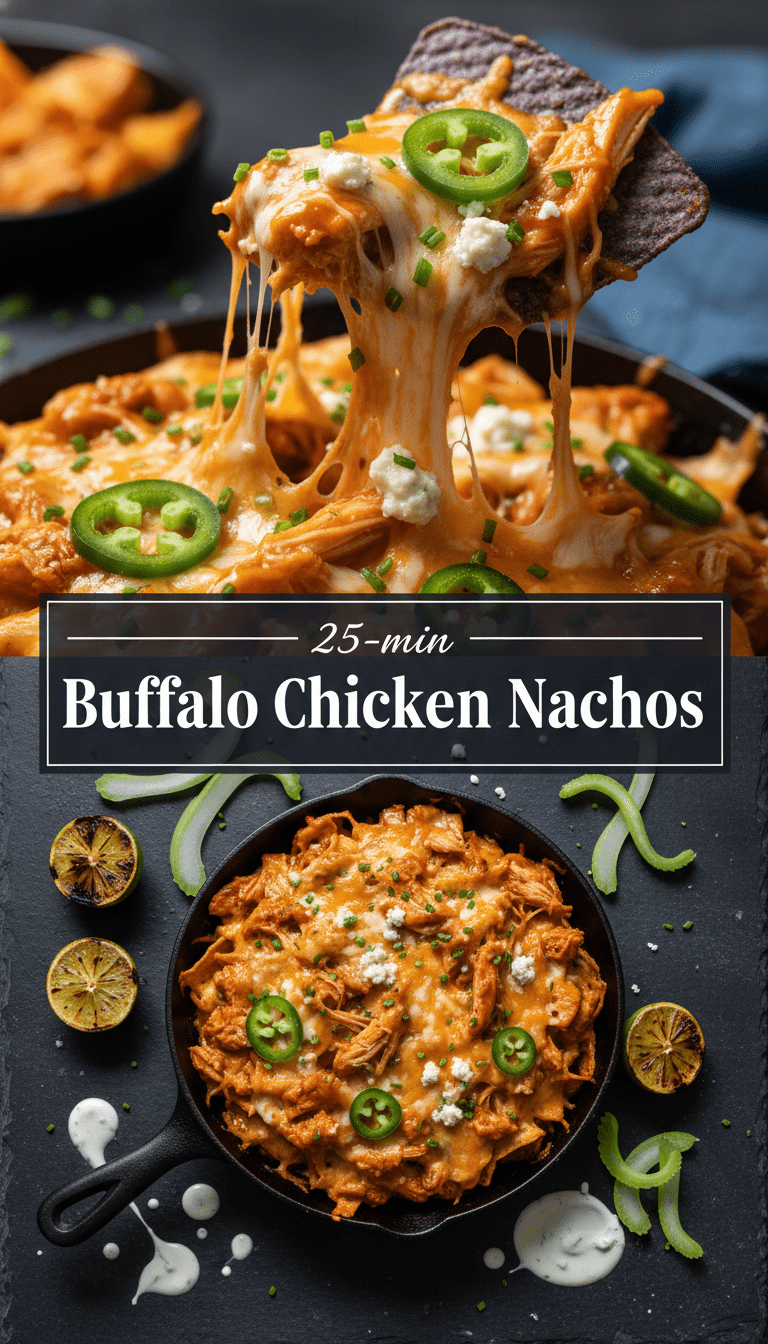
Hey everyone, and welcome back to the kitchen! If there’s one dish that screams “celebration,” “weekend,” or just “I need comfort food right now,” it has to be nachos. But we’re not talking about boring old ground beef tonight. Oh no. We are diving headfirst into a mountain of crispy chips loaded with spicy, tangy, glorious Buffalo Chicken!
These Buffalo Chicken Nachos are ridiculously easy to assemble, but they look and taste like you spent hours in the kitchen. Trust me, they disappear faster than popcorn at a movie premiere. Let’s get cooking!
Quick Facts
Here’s what you need to know before you start assembling this masterpiece:
Prep time: 15 minutes
Cooking time: 15 minutes
Total time: 30 minutes
Serving size: 4-6 hungry people
Why You’ll Love This Recipe
This recipe is my go-to for a reason!
- Flavor Explosion: The perfect balance of creamy ranch/blue cheese dressing, sharp cheese, and that signature vinegary heat from the Buffalo sauce.
- Speedy Setup: Using rotisserie chicken is a total cheat code, getting this from oven to table in under 30 minutes.
- Customizable: You control the heat! Add more sauce for a fiery kick or tone it down for milder palates.
- Impressive Presentation: Pile it high! These look like a professional appetizer platter.
What You’ll Need (Ingredients)
Get your shopping list ready! We are building layers of deliciousness here.
For the Buffalo Chicken Filling:
- 2 cups cooked, shredded chicken (rotisserie chicken works perfectly!)
- 1/2 cup Buffalo wing sauce (Frank’s RedHot is my favorite base)
- 2 tablespoons unsalted butter, melted
- 1 teaspoon garlic powder
- 1/4 teaspoon salt
For the Nacho Base & Toppings:
- 1 large bag (about 10-12 oz) sturdy tortilla chips (restaurant-style is best)
- 2 cups shredded sharp cheddar cheese (or a Mexican blend)
- 1 cup shredded Monterey Jack cheese
- 1/2 cup crumbled blue cheese (optional, but highly recommended!)
- 1/4 cup chopped fresh cilantro, for garnish
- Optional Drizzle: 1/4 cup Ranch dressing or Blue Cheese dressing
Step-by-Step Assembly: Building the Best Nachos Ever
This process is simple, but the key is layering! We want every chip to have a little bit of everything.
Step 1: Preheat and Prep the Chicken
Preheat your oven to 375°F (190°C). Line a large, rimmed baking sheet with parchment paper for easier cleanup (trust me on this one).
In a medium bowl, combine the melted butter, Buffalo sauce, garlic powder, and salt. Toss the shredded chicken thoroughly in this sauce mixture until every piece is coated in that beautiful orange hue.
Step 2: Layering Magic
This is where the artistry comes in. We are creating two layers for maximum coverage!
1. First Layer: Spread half of the tortilla chips evenly across your prepared baking sheet. Sprinkle generously with half of the shredded cheddar and Monterey Jack cheeses.
2. Chicken Distribution: Evenly distribute half of the sauced Buffalo chicken mixture over that first layer of chips and cheese.
3. Second Layer: Add the remaining chips directly on top of the chicken. Top this second layer with the rest of the shredded cheeses and sprinkle the crumbled blue cheese (if using) over the top. Finish with the remaining Buffalo chicken scattered lightly across the top layer.
Step 3: Bake to Perfection
Bake for 12 to 15 minutes, or until the cheese is completely melted, bubbly, and starting to get golden brown around the edges. Keep a close eye on them so the chips don’t burn!
Step 4: Garnish and Serve Immediately
Carefully remove the baking sheet from the oven. Immediately sprinkle the fresh cilantro over the hot nachos. If you are using a drizzle, take your Ranch or Blue Cheese dressing and artfully zigzag it across the top.
Serve immediately while everything is piping hot and gloriously messy!
Serving Suggestions
These nachos are a meal unto themselves, but they go fantastic with cooling sides:
- Celery sticks and carrot sticks (classic Buffalo pairings!)
- A side of sour cream for dipping.
- A crisp, cool coleslaw to cut through the richness.
Tips for Customization and Variations
Want to take these up a notch or adapt them to your taste? Try these swaps:
- Spice Level Control: If you want it milder, use less Buffalo sauce and add a teaspoon of honey to the chicken mixture. For extra heat, add a dash of cayenne pepper!
- Veggies Welcome: Toss in thinly sliced pickled jalapeños before baking for an extra layer of tang and heat. Red onion slices added right before serving also provide a nice bite.
- Grill It! If you don’t want to turn on the oven, you can assemble the layers on a large oven-safe platter and place it under the broiler for 3-5 minutes. Watch very closely!
Estimated Nutritional Information
Please note: This is a rough estimate based on standard ingredient measurements and will vary based on specific brands and portion sizes.
Per Serving (based on 6 servings): Approximately 450-550 calories, 30g fat, 35g protein, 25g carbohydrates. These are comfort food, so enjoy them!
Frequently Asked Questions (FAQs)
Q: Can I make the chicken ahead of time?
A: Absolutely! You can shred and toss the chicken mixture up to a day in advance. Store it covered in the refrigerator. When you are ready to assemble, just layer it straight onto the chips.
Q: What kind of chips hold up best under all those toppings?
A: Sturdy, thick-cut, restaurant-style tortilla chips are your best bet. Thin, fragile chips tend to get soggy quickly under the weight of the chicken and cheese.
Q: Can I substitute the chicken for something else?
A: Yes! These are fantastic with shredded cooked pork (pulled pork) tossed in Buffalo sauce, or for a vegetarian option, use cauliflower florets tossed in the sauce instead of the chicken.
Q: Why do I need two layers of chips?
A: The two-layer technique ensures that you don’t have a massive pile of naked, uncheesed chips at the bottom! It guarantees maximum coverage and flavor in every single bite.
Happy snacking, everyone! Let me know in the comments if you tried these game-day beauties!
