Hey there, fellow dessert lovers! Are you ready to dive headfirst into a pool of chocolatey goodness that’s ridiculously easy to make? If your answer is a resounding “YES,” then you’ve stumbled upon the right place. Today, we’re making a Chocolate Poke Cake, and trust me, this isn’t your average sheet cake. This recipe is all about injecting flavor deep into every bite, making it incredibly moist and absolutely irresistible. It’s the perfect lazy weekend treat or an instant crowd-pleaser!
Quick Facts
Here’s the lowdown on how quickly you can have this beauty ready to devour:
Prep time: 15 minutes
Baking time: 30–35 minutes
Cooling/Chilling time: 1 hour (minimum)
Total time: Approximately 1 hour 45 minutes
Serving size: 12 generous slices
Why You’ll Love This Recipe
What’s not to love? This cake is pure comfort food magic.
First off, it’s incredibly forgiving. Even if you’re a baking novice, you can nail this recipe. Second, the “poke” method ensures that the creamy filling seeps into every nook and cranny, guaranteeing a moist slice every single time. Forget dry cake days; this recipe is the definition of moist heaven! Finally, it uses pantry staples, meaning you can whip this up on a moment’s notice.
Ingredients You’ll Need
Gather your supplies! For this recipe, we’ll break the ingredients down into the cake base and the luscious filling/frosting.
For the Chocolate Cake Base:
- One box of your favorite devil’s food or chocolate cake mix (plus the ingredients listed on the box, usually eggs, oil, and water)
- 1 cup boiling water (this is optional but boosts the chocolate flavor!)
For the Gooey Filling:
- One (14-ounce) can sweetened condensed milk
- 1/2 cup chocolate syrup (the classic kind you use on ice cream!)
For the Topping:
- One container (8 ounces) of frozen whipped topping (like Cool Whip), thawed, OR 2 cups of homemade whipped cream
- 1/2 cup semi-sweet chocolate chips (for sprinkling)
Step-by-Step Instructions
Let’s get baking! Preheat your oven and grab that 9×13 inch baking pan.
Step 1: Bake the Cake
1. Prepare the cake mix according to the package directions, substituting the required water amount with the 1 cup of boiling water if you choose (this intensifies the chocolate flavor beautifully!).
2. Pour the batter into your greased and floured 9×13 inch pan.
3. Bake according to the package directions until a toothpick inserted into the center comes out clean.
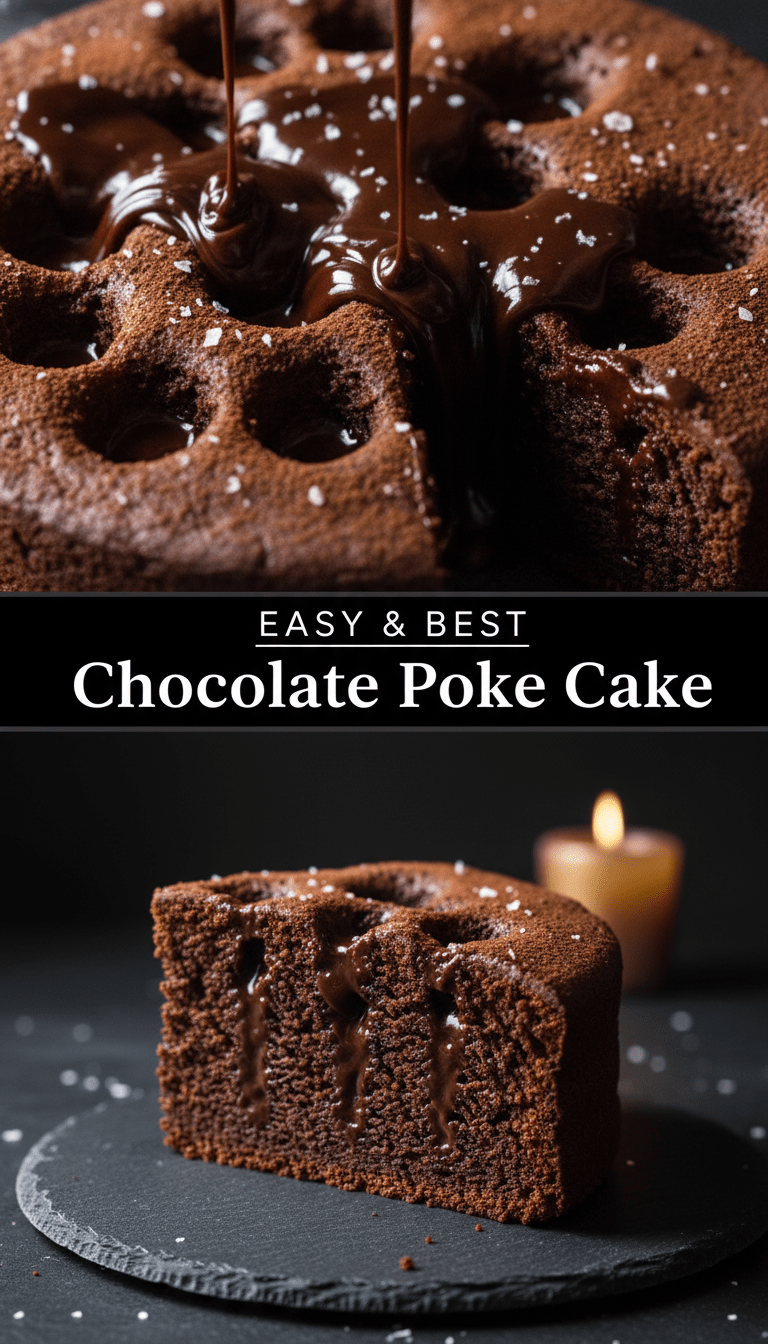
Step 2: The Essential Poke
1. As soon as the cake comes out of the oven, grab a sturdy tool—a wooden dowel, the handle of a wooden spoon, or a thick straw works perfectly.
2. Begin poking holes all over the surface of the hot cake. You want holes that go all the way down to the bottom, spaced about 1 inch apart. Don’t be shy; make lots of holes!
Step 3: Pour in the Magic
1. In a medium bowl, whisk together the sweetened condensed milk and the chocolate syrup until they are fully combined into a smooth, dark mixture.
2. Slowly and evenly drizzle this mixture over the entire surface of the hot cake, allowing it to drip down into all those lovely holes you just created. You should see the gooeyness sinking in!
Step 4: Chill and Frost
1. Let the cake cool completely on the counter for about 30 minutes, then cover it loosely and transfer it to the refrigerator. It needs at least 1 hour to chill so the filling can set and the flavors meld. This chilling step is crucial!
2. Once chilled, spread the thawed whipped topping evenly over the top of the cake.
3. Sprinkle those glorious chocolate chips over the whipped topping.
Slice, serve, and watch the smiles appear!
Serving Suggestions
This cake is rich, so a little goes a long way!
Serve slices slightly chilled. It pairs wonderfully with a tall glass of ice-cold milk (classic!) or a scoop of vanilla bean ice cream if you want to take the decadence level up to eleven. A light dusting of powdered sugar right before serving adds a nice visual touch, too.
Customization Corner: Making It Yours!
The beauty of a poke cake is how easily you can switch things up:
- Caramel Lover: Instead of chocolate syrup in the filling, use dulce de leche or caramel sauce. Then, drizzle extra caramel over the top before adding the whipped cream.
- Minty Fresh: Use a chocolate mint chip cake mix, and for the filling, mix the condensed milk with a few drops of peppermint extract. Top with crushed Andes mints!
- Peanut Butter Bliss: Add 1/2 cup of creamy peanut butter to the condensed milk/syrup mixture before pouring. Top with chopped Reese’s cups.
Nutritional Snapshot (Estimated)
Please remember this is a rich dessert! Based on 12 servings, one slice contains approximately:
Calories: 350-400
Fat: 18g
Sugar: 40g
Protein: 5g
Frequently Asked Questions (FAQs)
Q: Can I use heavy cream instead of the canned whipped topping?
A: Absolutely! If you whip heavy cream with a little powdered sugar and vanilla extract until stiff peaks form, it makes an amazing homemade frosting. Just ensure you keep it well-chilled until serving, as homemade whipped cream is more delicate than the stabilized canned versions.
Q: What happens if I skip poking the holes?
A: You’ll have a very nice chocolate cake with a layer of chocolate sauce and whipped cream on top, but you’ll miss out on the signature moistness! The holes allow the liquid filling to soak deep into the cake crumb rather than just sitting on top.
Q: How long does Chocolate Poke Cake last in the fridge?
A: Because of the whipped topping, I recommend keeping this cake covered in the refrigerator for up to 3 days. It tastes best within the first 24 hours when the filling is still very gooey.
Enjoy every single, decadent bite of your homemade Chocolate Poke Cake! Happy baking!