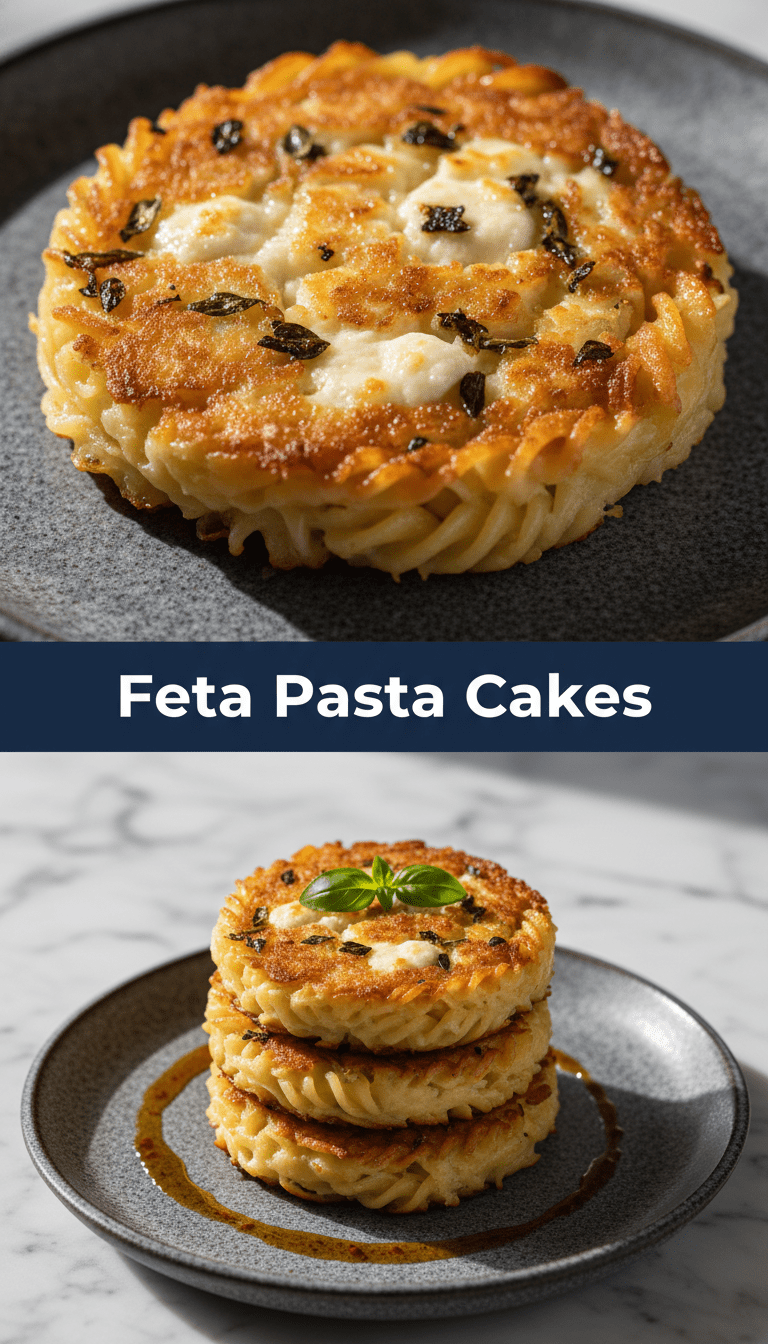
Hello, fellow food lovers! Are you ready for a recipe that takes that viral, creamy baked feta pasta and turns it into something utterly irresistible and perfectly portion-controlled? I’m talking about Feta Pasta Cakes! Yes, you heard that right. We are transforming that dreamy, tangy feta and tomato mixture into crispy, golden-brown patties that are perfect for lunch, a light dinner, or even an amazing appetizer. Trust me, once you try these, your leftover pasta night will never be the same. Let’s get cooking!
Quick Facts
Prep time: 20 minutes
Cooking time: 15 minutes
Total time: 35 minutes
Serving size: Makes about 8 cakes
Why You’ll Love This Recipe
This recipe is genius because it solves two problems at once: what to do with leftover pasta (or how to make a new dish quickly) and how to get that incredible baked feta flavor in a portable, dippable format. They are crispy on the outside, soft and tangy on the inside, and ridiculously easy to make. Plus, they freeze beautifully!
Ingredients You’ll Need
To make these fantastic cakes, you’ll need these simple items:
- 2 cups cooked pasta (any shape works, but short shapes like penne, rotini, or macaroni are best)
- 6 oz block of feta cheese (the kind packed in brine is best, drained)
- 1 cup cherry or grape tomatoes, halved
- 2 cloves garlic, minced
- 2 tablespoons olive oil (plus extra for frying)
- 1 teaspoon dried oregano
- 1/2 teaspoon red pepper flakes (optional, for a little kick)
- 1/4 cup fresh basil, chopped
- 1 large egg, lightly beaten
- 1/2 cup Panko breadcrumbs (plus 1/2 cup for coating)
- Salt and freshly ground black pepper to taste (be mindful of feta saltiness)
Step-by-Step Cooking Magic
Follow these steps, and you’ll have these golden delights ready in no time!
Step 1: Creating the Flavor Base
First things first, let’s build our flavor. In a small oven-safe skillet or baking dish, combine the cherry tomatoes, minced garlic, 2 tablespoons of olive oil, oregano, and red pepper flakes. Pop this into a preheated oven at 400°F (200°C) for about 10 to 12 minutes, or until the tomatoes are soft and starting to burst. This concentrates their sweetness.
Step 2: Mixing the Pasta Filling
While the tomatoes roast, place your cooked pasta in a large mixing bowl. Once the tomatoes are done, carefully transfer them (and any juices/oil from the pan) into the bowl with the pasta. Crumble the block of feta cheese directly over the pasta mixture. Add the chopped basil, the lightly beaten egg, and the first 1/2 cup of Panko breadcrumbs. Season lightly with pepper.
Step 3: Binding and Chilling
Mix everything together gently but thoroughly. You want the egg and breadcrumbs to act as a binder. Now, cover the bowl and chill the mixture in the refrigerator for at least 30 minutes. This chilling step is crucial—it helps the mixture firm up so the cakes hold their shape when frying!
Step 4: Forming and Coating the Cakes
Take the chilled mixture out. Scoop about 1/3 cup of the mixture and gently form it into a compact patty, about 1 inch thick. Place the remaining 1/2 cup of Panko breadcrumbs in a shallow dish. Carefully dredge each cake in the dry Panko, pressing lightly to ensure it gets a nice, even coat all over.
Step 5: The Golden Finish
Heat about 1/4 inch of olive oil in a large, heavy-bottomed skillet over medium heat. Once the oil is shimmering (a tiny crumb dropped in should sizzle immediately), carefully place the cakes into the hot oil, ensuring you don’t overcrowd the pan. Fry for 3 to 4 minutes per side, until they are deep golden brown and crispy.
Transfer the finished Feta Pasta Cakes to a paper towel-lined plate to drain any excess oil. Serve immediately!
Serving Suggestions
These cakes are fantastic on their own, but they shine with a good dipping sauce!
- Lemon-Herb Yogurt Dip: Mix Greek yogurt with fresh dill, lemon zest, and a drizzle of olive oil.
- Balsamic Glaze: A simple drizzle adds a beautiful sweet and acidic contrast.
- Side Salad: Pair with a fresh arugula salad tossed simply with lemon juice.
Tips for Customization & Variations
Want to jazz these up even more? Here are a few ways to switch things up:
- Add Protein: Stir in shredded cooked chicken or crumbled Italian sausage along with the pasta.
- Greens Power: Mix in a handful of finely chopped spinach or kale when you add the basil.
- Spice It Up: Add a teaspoon of smoked paprika to the Panko coating for an extra layer of flavor.
- Air Fryer Method: For a lower-oil option, spray the coated cakes lightly with cooking spray and air fry at 375°F (190°C) for 10-12 minutes, flipping halfway, until golden.
Nutritional Information (Estimated Per Cake)
Please remember these are estimates and depend heavily on the type of pasta and oil used:
Calories: Approximately 220-250
Protein: 10g
Fat: 14g
Carbohydrates: 18g
Frequently Asked Questions (FAQs)
Q1: Can I make these without baking the tomatoes first?
A: You can, but I highly recommend roasting them! Roasting concentrates the tomato flavor and softens them so they integrate beautifully into the cake mixture. If you skip it, your cakes might be a bit wetter, and the tomato flavor will be less intense.
Q2: What kind of pasta is best for Feta Pasta Cakes?
A: Short pasta is key! Shapes like rotini, elbows, shells, or penne work best because they trap the feta and tomato pieces well, helping the cakes hold together when formed. Long pasta (like spaghetti) is too hard to manage.
Q3: How should I store leftovers?
A: Leftover cooked cakes can be stored in an airtight container in the refrigerator for up to 3 days. To reheat and keep them crispy, reheat them in an oven or toaster oven at 350°F (175°C) for about 8-10 minutes. Avoid microwaving if you want that crunch!
Q4: Can I freeze these?
A: Absolutely! Form the patties, coat them in Panko, and place them on a baking sheet lined with parchment paper. Freeze until solid, then transfer them to a freezer bag. Cook directly from frozen, adding a few extra minutes to the cooking time. They freeze great for up to 2 months!
Enjoy creating this incredibly satisfying, cheesy treat! Happy cooking!