Hey everyone, and welcome back to my kitchen! March is finally here, and you know what that means: cozy sweaters, the promise of spring, and, of course, all things green! Forget complicated corned beef recipes this year; I’ve got something way easier, faster, and undeniably festive for your St. Patrick’s Day celebrations: St. Patty’s Day Popcorn!
This isn’t just any old popcorn tossed with food coloring. We’re using white chocolate magic to create a crunchy, sweet, slightly salty snack that looks exactly like a pot of gold at the end of a rainbow—or, you know, a field of lucky shamrocks! It’s ridiculously simple, making it perfect for last-minute party prep.
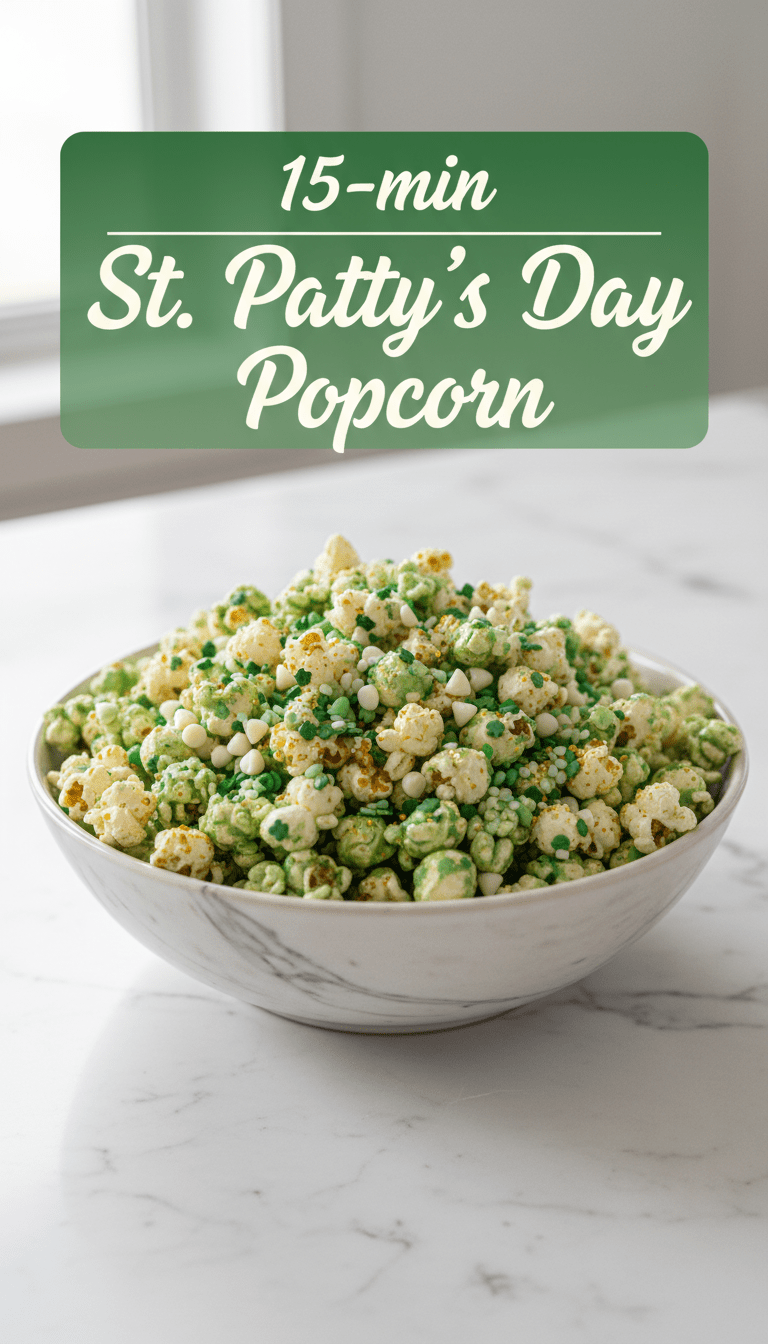
Quick Facts
Prep time: 10 minutes
Cooking time: 5 minutes (mostly for melting chocolate)
Total time: 15 minutes
Serving size: About 8 cups
Why You’ll Love This Recipe
Honestly, what’s not to love?
- Instant Festivity: It turns a simple snack into a holiday centerpiece in minutes.
- Super Easy: If you can melt chocolate, you can make this!
- Crowd-Pleaser: Kids and adults devour this sweet and salty treat.
- Customizable: Perfect for adding extra sprinkles or candies.
Ingredients You’ll Need
To make this vibrant green treat, gather these simple goodies:
- 10 cups popped popcorn (air-popped works best so it’s not too oily)
- 12 ounces good quality white chocolate melting wafers or white chocolate chips
- 1 teaspoon coconut oil (optional, helps the chocolate melt smoother)
- Green food coloring (gel coloring is highly recommended for vibrant color)
- 1/4 teaspoon mint extract (optional, for a subtle Irish kiss!)
- A pinch of fine sea salt (if your popcorn isn’t already salted)
- Optional toppings: Green sprinkles, gold nonpareils, or mini chocolate candies.
Let’s Get Popping! Step-by-Step Instructions
Making St. Patty’s Day Popcorn is practically foolproof. Just follow these easy steps!
Step 1: Prepare the Base
First things first, pop your corn! Make sure it’s fully cooled before you start coating it. Spread the popped corn evenly onto a large baking sheet lined with parchment paper. This makes cleanup a breeze!
Step 2: Melt the Magic
In a microwave-safe bowl, combine the white chocolate wafers (or chips) and the coconut oil (if using). Microwave in 30-second intervals, stirring well after each interval, until the chocolate is completely smooth. Be patient here—don’t overheat the chocolate!
Step 3: Add the Emerald Hue
Once the chocolate is smooth, it’s time for the fun part! Add 3-5 drops of the green food coloring. Stir gently until the color is uniform. Remember, gel coloring gives you that deep, rich green color we are aiming for. If you’re using mint extract, stir that in now too!
Step 4: Coat Everything Beautifully
Pour the melted green chocolate mixture evenly over the popcorn on the baking sheet. Using a large rubber spatula, gently fold and toss the popcorn until most of the kernels are coated in that beautiful green sheen. Work quickly, as the chocolate starts to set fast. Sprinkle the pinch of salt over the top now if you need extra savory balance.
Step 5: Sprinkle the Luck
While the chocolate is still wet, sprinkle your green sprinkles or gold nonpareils over the top. Give it a gentle shake to distribute them nicely.
Step 6: Let it Set
Let the popcorn sit at room temperature for about 20 to 30 minutes until the chocolate has fully hardened. If you’re in a rush, you can pop the tray into the refrigerator for 10 minutes, but be careful—too much chilling can sometimes make the chocolate brittle or dull.
Once hardened, break the popcorn into festive clusters and enjoy!
Serving Suggestions
This popcorn is fantastic on its own, but here are a few ideas to elevate your St. Patty’s Day spread:
1. Themed Snack Mix: Mix it with pretzels, Lucky Charms marshmallows, and green-coated M&Ms for a layered experience.
2. Party Favors: Scoop it into cute green paper bags or clear cellophane bags, tie them with a gold ribbon, and hand them out to guests.
3. Ice Cream Topping: Crumble up a few pieces and use it as a festive topping for vanilla ice cream.
Tips for Customization and Variations
Want to switch things up? Try these tweaks!
- Chocolate Swap: Use dark chocolate for a deeper contrast, or mix white and milk chocolate for a marble effect.
- Irish Cream Twist: Substitute a tablespoon of the melted white chocolate with a splash of Irish Cream liqueur (like Bailey’s) right before stirring in the color. Note: This makes it an adult-only snack!
- Crunch Factor: Fold in chopped pecans or slivered almonds along with the popcorn for added texture.
- Natural Coloring: For a more muted, natural green, blend a tiny bit of spinach powder into the melted chocolate. Don’t worry, you won’t taste the spinach!
Nutritional Information (Estimated Per Serving)
Please remember this is just an estimate, as measurements of chocolate coating can vary widely!
Calories: Approximately 250-300
Fat: 15g
Sugar: 20g
Protein: 4g
Frequently Asked Questions (FAQs)
Q1: Can I use regular food coloring instead of gel coloring?
Yes, you can, but you will need significantly more liquid food coloring to achieve a vibrant green. Using too much liquid coloring can cause the white chocolate to seize up and become grainy. Gel coloring is always my top recommendation for candy coating!
Q2: My white chocolate turned grainy after I added the color. What went wrong?
This usually happens because the chocolate was overheated, or too much liquid was added too quickly (like regular food dye). To fix seized chocolate, try stirring in about half a teaspoon of fresh, room-temperature coconut oil or vegetable shortening until it becomes smooth again.
Q3: How long will this St. Patty’s Day Popcorn last?
Stored in an airtight container at room temperature, it should stay fresh and crunchy for about 5 to 7 days. Keep it away from direct heat or sunlight, as this can cause the chocolate to soften.
Enjoy making this fun, festive snack, and have a happy, healthy St. Patrick’s Day! Sláinte!